Beginner Gel Guide
How to Remove Gel Nail Polish at Home Without Peeling It Off
When a gel manicure starts lifting, the tempting shortcut is to pull it off. The better approach is slower but much kinder to the nail underneath. This guide walks you through a simple soak-off method, explains what to do when the color refuses to budge, and helps you avoid the mistakes that leave nails feeling thin.
Quick answer
The gentlest practical method is targeted acetone soaking.
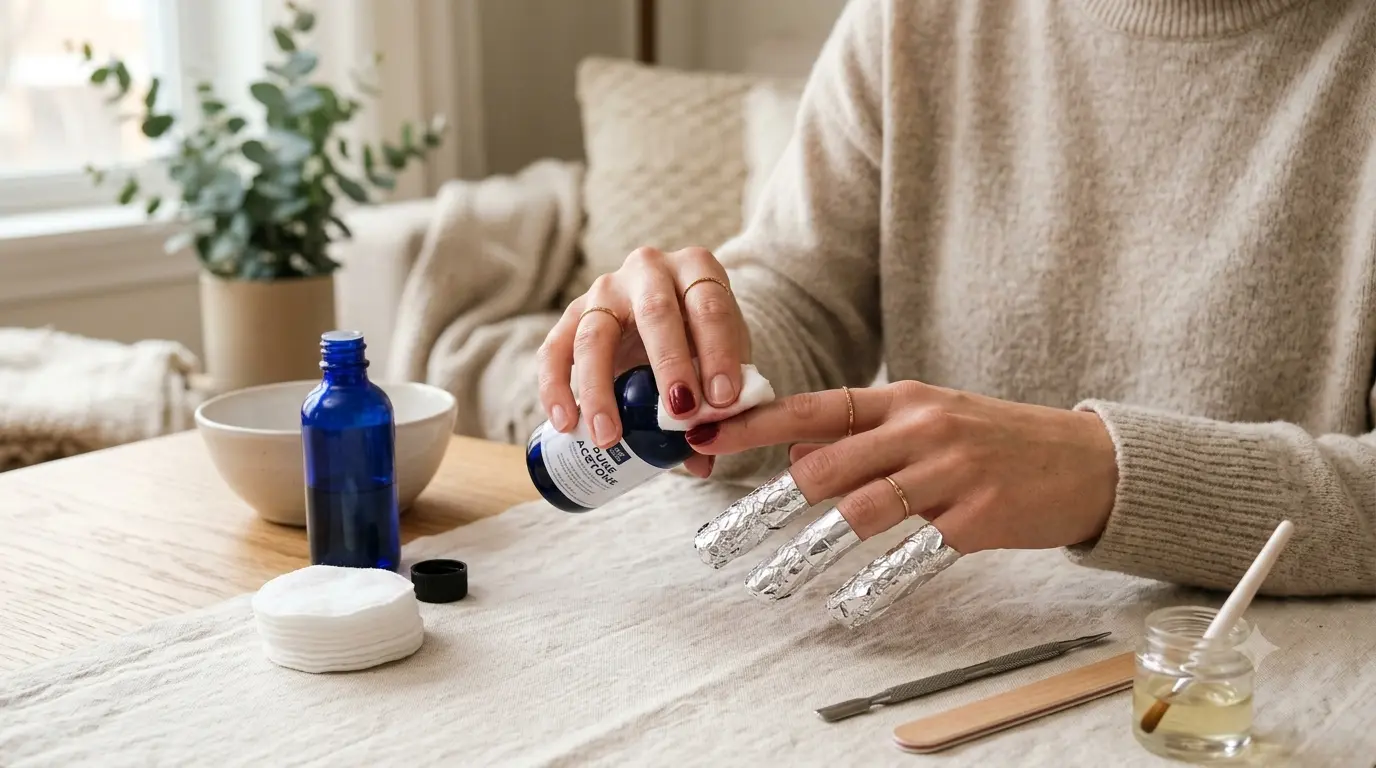
Protect the surrounding skin, place acetone-soaked cotton directly on each nail, wrap it snugly, and give the product time to soften. Start checking at about 10 minutes. When the gel is ready, it should wipe away with gentle pressure. If you have to pry, scrape, or force it, stop and soak again.
- Confirm it is soak-off gel polish.
- Protect the table and surrounding skin.
- Place acetone-soaked cotton on each nail.
- Wrap the nail and wait without picking.
- Wipe away only what has softened.
- Wash, moisturize, and give tender nails a break.
Before you start
First, make sure your manicure is actually soak-off gel polish.
“Gel nails” is used as a catch-all phrase, but removal methods are not interchangeable. A thin gel-polish manicure is commonly designed to soften in acetone. Hard gel, sculpted extensions, and some builder gel systems may be file-off products instead. Dip powder and acrylic are different again.
Check the bottle, kit instructions, salon receipt, or product page. Look for wording such as soak-off gel polish. If the manicure came from a salon and you do not know what was used, ask before trying to remove it yourself.
If the surface stays hard after a correct soak, do not keep digging at it with a metal tool or wooden stick. The product may be file-off gel, or it may simply need the manufacturer’s specific removal method.
Supply list
What you need to remove gel polish at home
Set everything out before opening the acetone. Working one hand at a time is easier, keeps the wraps secure, and leaves the other hand free.
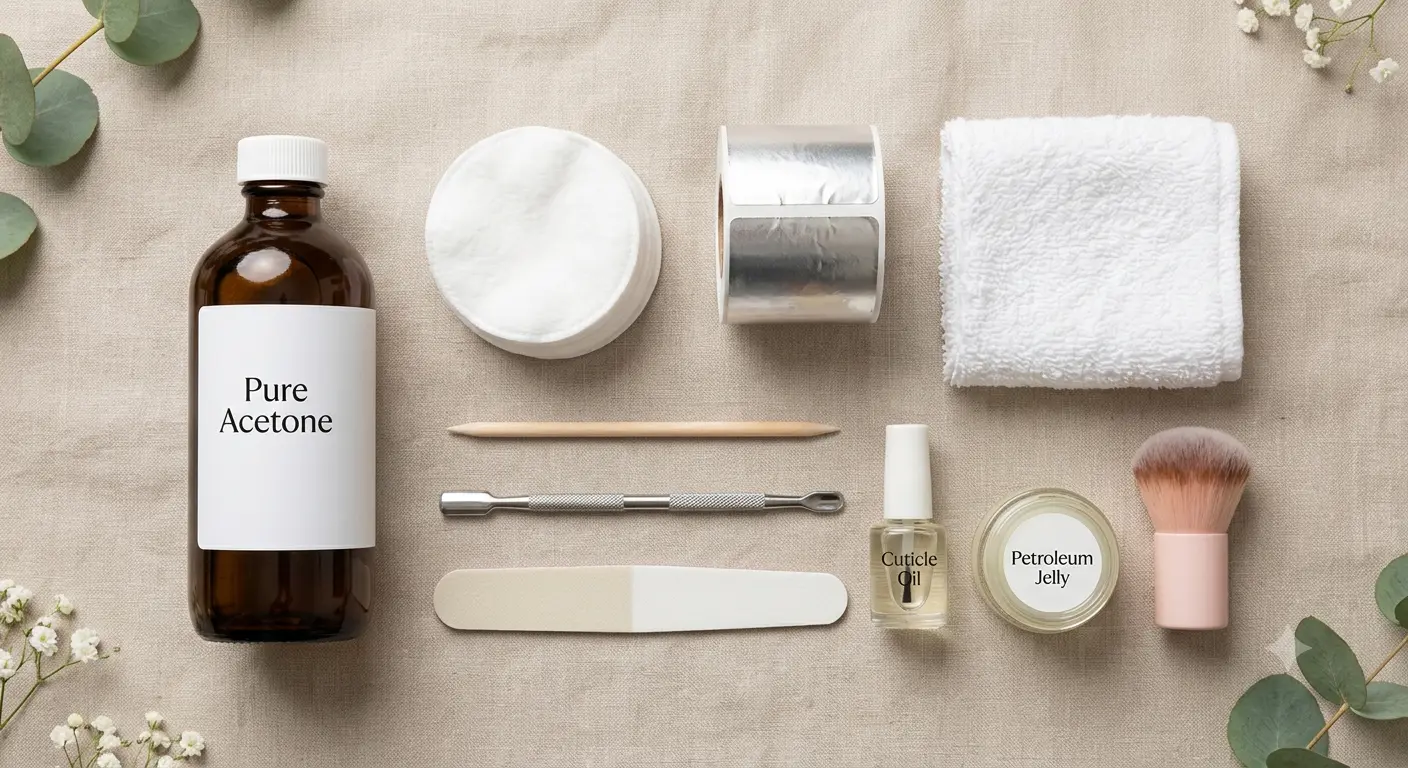
Clearly labeled 100% acetoneUse a nail product from a reputable retailer and follow its label.
Cotton balls or cotton stripsCut them close to nail size to limit skin exposure.
Plastic food wrap or foilPlastic wrap can create a close seal; foil is also commonly used.
Petroleum jellyA thin border around the nail helps shield nearby skin.
Warm damp washclothUse it to wipe softened polish without scraping.
Thick towel and surface coverAcetone can damage furniture, counters, and some finishes.
Mild soap and moisturizerClean away residue and rehydrate the skin after removal.
Avoid mystery “magic” or rapid gel removers with incomplete labeling. In 2026, the U.S. Food and Drug Administration warned that several products marketed as gel removers contained prohibited methylene chloride. Buy from a source you trust, read the ingredient label, and do not use a remover with unclear contents.
Step by step
How to remove gel nail polish at home
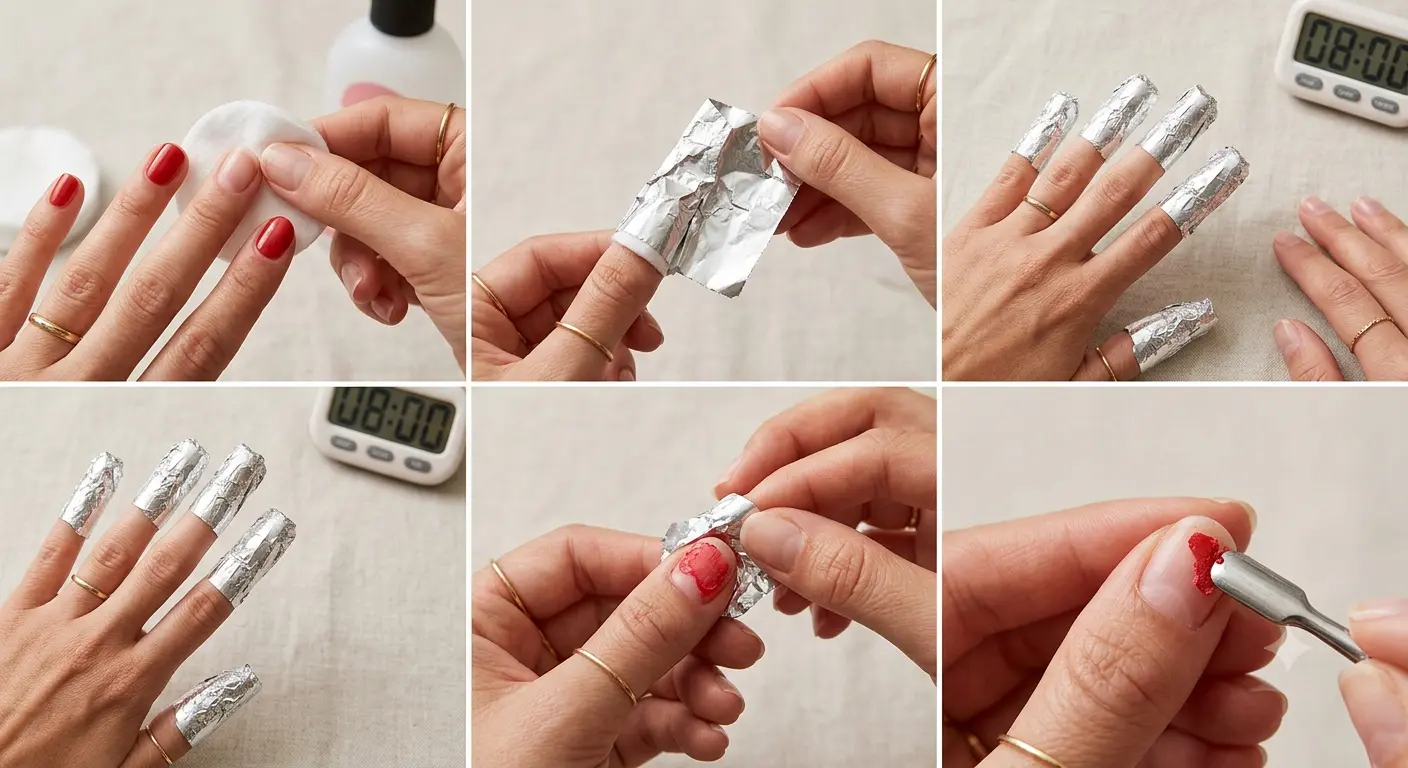
Prepare a ventilated, flame-free workspace.
Open a window or work in a well-ventilated room. Keep acetone away from candles, cigarettes, stovetops, heaters, and other ignition sources. Cover the table with a protective layer, then place a thick towel on top.
Work on one hand at a time.
Removing all ten wraps at once sounds faster, but it often turns into a slippery mess. Finish one hand, wash it, then repeat the process on the other.
Protect the cuticles and skin.
Apply a thin ring of petroleum jelly around each nail. Keep it off the gel surface so it does not interfere with the acetone. The goal is to reduce unnecessary contact with the surrounding skin, not coat the entire fingertip.
Cut the cotton to fit each nail.
Oversized cotton spreads acetone over more skin than necessary. Trim small pieces that cover the polished nail plate without hanging far over the edges.
Saturate the cotton and seal each nail.
Wet one cotton piece with acetone, place it directly over the polish, and wrap the fingertip with a small piece of plastic food wrap or foil. The wrap should be secure enough to hold the cotton in place, but never tight enough to cause throbbing, numbness, or a color change in the fingertip.
Wait about 10 minutes before checking.
Start with the timing recommended for your product. The American Academy of Dermatology describes a 10-minute plastic-wrap method, while other professional guidance notes that some gel polish may take closer to 15 minutes. Resist the urge to unwrap repeatedly, because breaking the seal slows the process.
Wipe away only the polish that has softened.
Remove one wrap and look at the surface. Ready-to-remove gel often appears swollen, cracked, or loosened. Use a warm damp washcloth to rub the nail gently. Do not use the edge of another nail, a metal pusher, or an orange stick to lever off stubborn patches.
Rewrap stubborn areas instead of forcing them.
If a patch is still firmly attached, place fresh acetone-soaked cotton over that nail and wait a little longer according to the product instructions. A second short soak is preferable to scraping the natural nail.
Wash and moisturize.
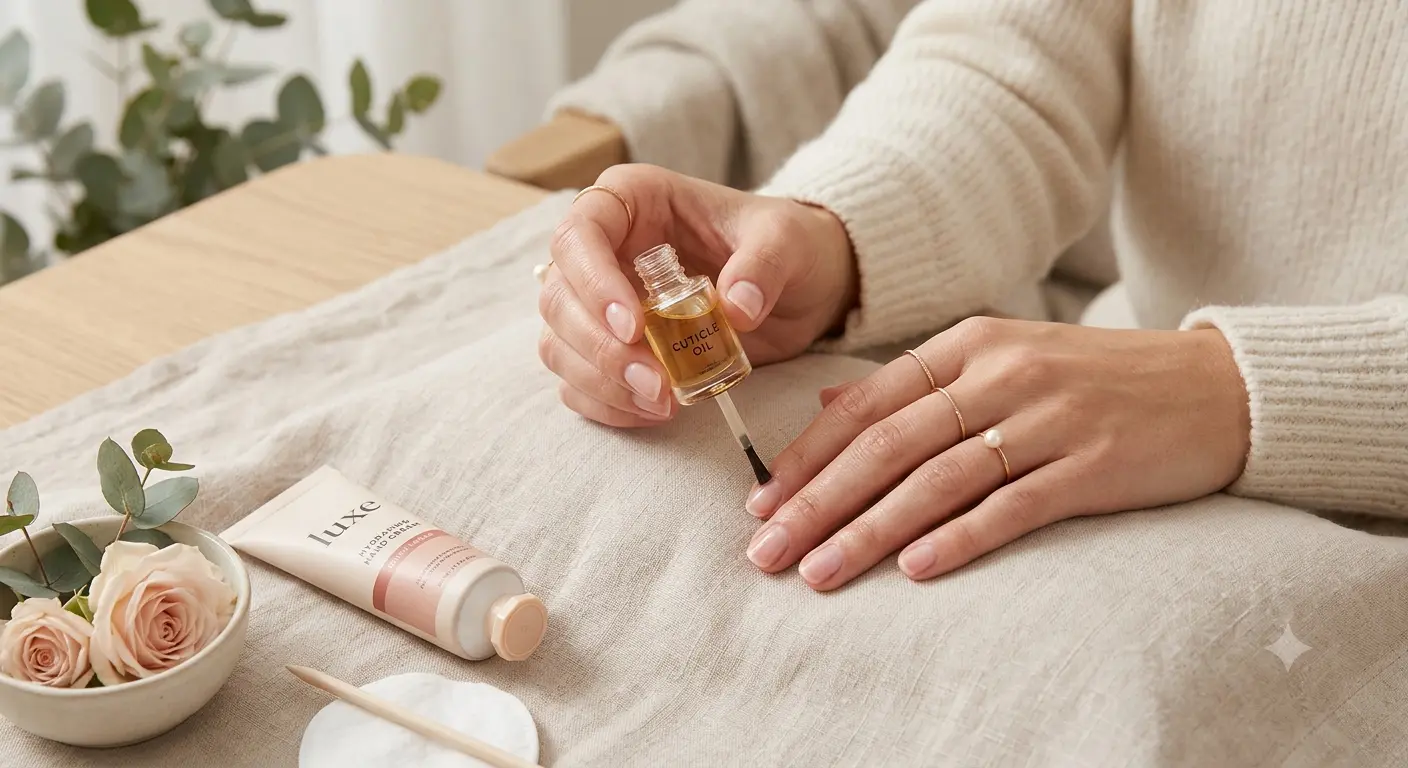
Wash your hands with mild soap and water, dry them carefully, and massage petroleum jelly, fragrance-free hand cream, or cuticle oil into the nails and surrounding skin. Repeat the moisturizer over the next several days if the skin feels dry.
Troubleshooting
What to do when gel polish will not come off
Stubborn gel does not mean you need more force. It usually means one of four things: the seal was loose, the cotton dried out, the product needs a little more time, or the manicure is not a soak-off system.
The cotton was not fully saturated
Use fresh cotton with enough acetone to stay in contact with the entire polished surface.
The wrap was too loose
Reseal the nail so the cotton stays pressed against the gel without restricting circulation.
The layer is unusually thick
Rewrap and follow the product’s timing rather than peeling away the upper layers.
It may be hard gel or file-off builder gel
Stop soaking and confirm the product type. Professional removal may be the safer choice.
The shortcut to avoid
Why peeling gel polish can leave nails feeling thin
Gel adheres closely to the top layers of the nail plate. When you lift an edge and pull, the color may take surface layers of the natural nail with it. The result can look white, rough, flaky, or uneven, and the nail may feel more flexible than it did before.
Scraping creates a similar problem. The tool cannot reliably tell the difference between softened product and the nail underneath. If the manicure is ready, gentle wiping should do most of the work.
The useful rule is simple: when removal starts to feel like prying, the gel is not ready.
Alternative methods
Can you remove gel nail polish without acetone?
Regular non-acetone polish remover is usually not effective enough for cured gel polish. Kitchen hacks, prolonged hot-water soaking, and aggressive filing can waste time or damage the nail without dissolving the coating.
The genuinely gentle acetone-free alternative is to let the manicure grow out, trimming the free edge as the nail grows. It is slow, but it avoids chemical soaking and scraping. Keep lifted edges smooth enough that they do not catch, and do not pull them.
Do not improvise around painful cracks, open cuts, or a known acetone allergy. Ask a qualified nail professional or healthcare professional about a suitable removal plan.
Common mistakes
Seven gel-removal mistakes that make the process harder
Most damage does not happen because removal is complicated. It happens when a rushed shortcut replaces soaking, patience, or the instructions for the product on the nail.
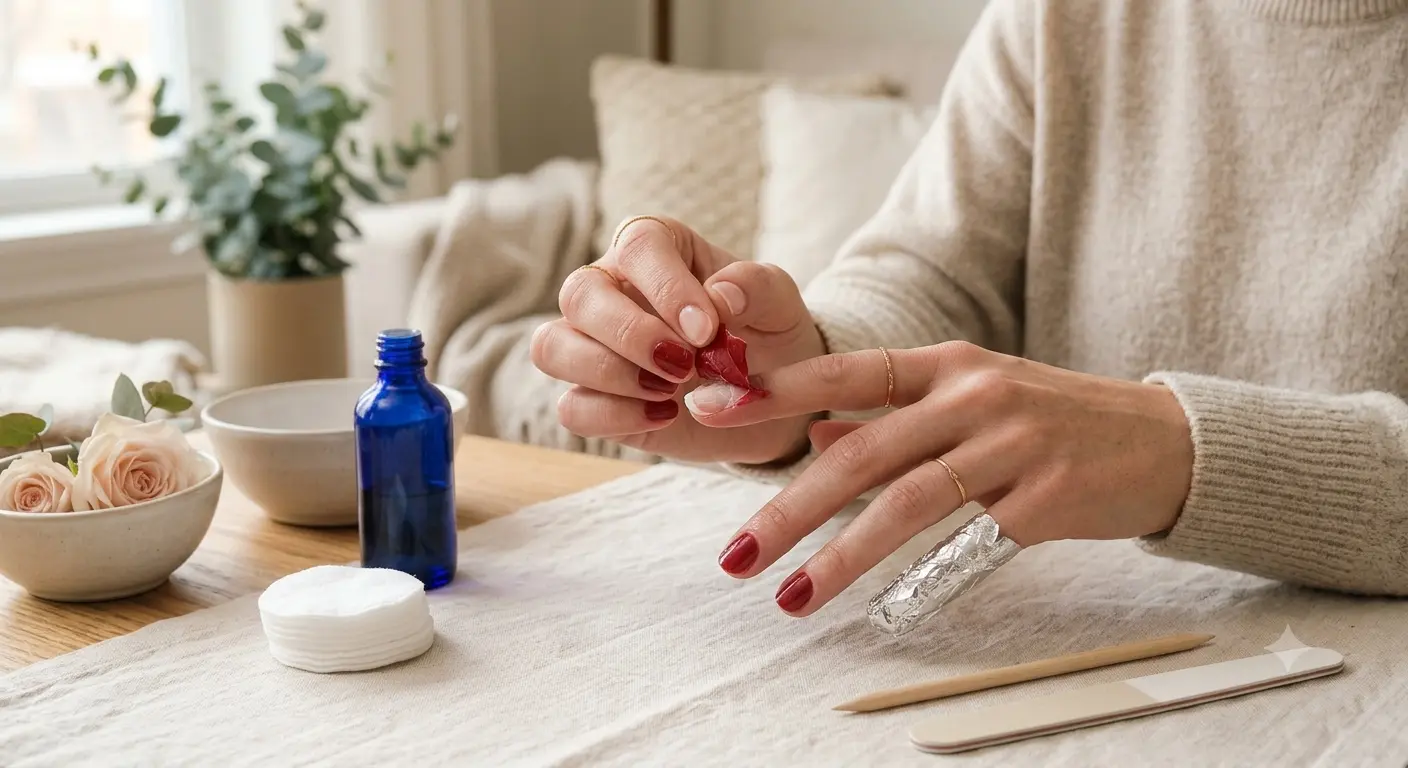
1. Peeling from a lifted corner
A loose edge is not proof that the entire layer has released. Pulling can remove surface layers of the natural nail.
2. Scraping with a metal tool
A hard tool can gouge a softened nail plate. Rewrap stubborn product and wipe gently instead.
3. Soaking the whole hand
Target the nail with fitted cotton so less surrounding skin sits in acetone.
4. Using an unlabeled rapid remover
Choose clearly labeled nail products from reputable sellers and read the ingredient and warning information.
5. Working beside a candle or heat source
Acetone is highly flammable. Keep the workspace ventilated and free of flames, smoking, sparks, and high heat.
6. Assuming every gel product soaks off
Hard gel and some builder systems require filing or professional removal. Confirm the product type first.
7. Reapplying immediately to sore or damaged nails
When nails or skin feel tender, irritated, thin, or flaky, pause and allow them to settle before another manicure.
After removal
How to care for nails after gel polish
Acetone can leave nails and surrounding skin feeling dry. Wash away the residue, then moisturize the nail plate, cuticles, and fingertips. The American Academy of Dermatology suggests using a moisturizing product such as petroleum jelly several times a day between gel manicures and considering a one- to two-week polish break.
Keep the nails at a comfortable length, file snags gently in one direction, and wear gloves for wet household work. A clear cosmetic treatment may improve appearance, but it cannot repair a nail that has been physically peeled or over-filed; that damaged section has to grow forward.
Know when to stop
Signs that need more than another soak
Stop using the product and seek advice from a healthcare professional when you notice persistent pain, swelling, intense itching, blistering, a spreading rash, nail lifting, pus, a strong odor, or unusual green, black, or yellow discoloration. These changes are not something to cover with another manicure.
Gel-product allergy can show up beyond the fingertips, including the eyelids, face, or neck. Breathing difficulty or a severe reaction needs urgent medical help.
Quick answers
Gel polish removal FAQ
How long should I soak gel polish in acetone?
Start with the instructions for your gel system. A targeted wrap commonly takes about 10 to 15 minutes. If the polish remains firmly attached, rewrap it rather than scraping.
Do I have to file the shiny top coat first?
Not always. Some product instructions call for a very light break in the seal, while dermatologist guidance also warns against filing gel off. Follow the exact system instructions and never file into the natural nail.
Why is my gel polish still hard after soaking?
The cotton may have dried, the wrap may be loose, the layer may be thick, or the manicure may be hard gel or a file-off builder product. Confirm the product type before continuing.
Can I use regular nail polish remover?
Non-acetone remover is usually too weak for cured gel polish. Clearly labeled acetone intended for nail use is the more effective at-home option for soak-off gel.
How do I remove gel polish without damaging my nails?
Confirm the gel is soak-off, protect the skin, use fitted acetone-soaked cotton, wait for the coating to soften, and wipe gently. Never peel or pry off firmly attached product.
How soon can I apply gel polish again?
There is no single schedule for everyone. When nails or skin feel dry, thin, tender, or irritated, take a break. Dermatologists suggest considering one to two weeks without polish between gel manicures.
Sources and editorial note
This article is educational and does not replace individualized medical or professional nail advice. Product formulas and removal instructions vary, so follow the directions supplied with the exact manicure system you used.
- American Academy of Dermatology: removing gel nail polish at home
- American Academy of Dermatology: tips for healthy gel manicures
- U.S. Food and Drug Administration: nail care product safety
- U.S. Food and Drug Administration: warning about methylene chloride in cosmetic removers
- British Association of Dermatologists: artificial nail allergy guidance