GEL MANICURE COLOUR CHANGE
Can You Put Regular Nail Polish Over Gel? Yes—Here’s How
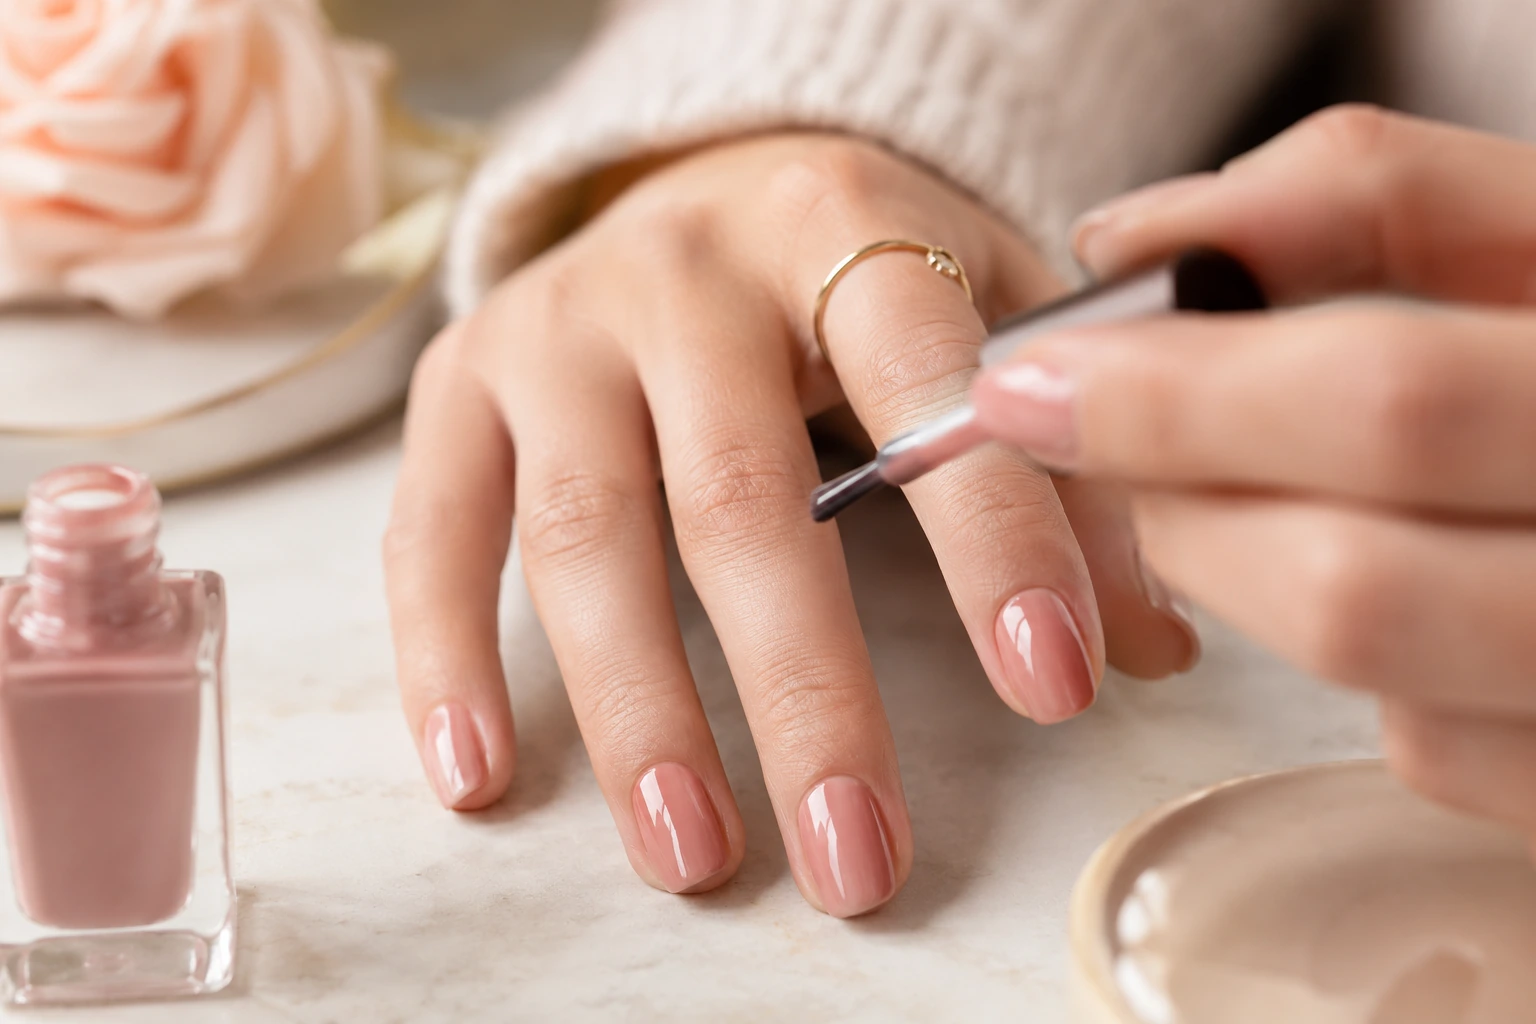
You can paint regular nail polish over a fully cured, intact gel manicure for a temporary colour change. The key is using thin air-drying layers, protecting the gel underneath, and removing the new colour gently.
QUICK ANSWER
Yes, regular polish can go over cured gel
Apply regular nail polish only when the gel manicure is fully cured, clean, smooth, and firmly attached. Use one or two thin colour coats, allow each coat to air-dry, and finish with a regular top coat.
Do not paint over gel that is lifting, cracked near the natural nail, painful, or trapping moisture. Fix or remove the damaged gel first. When you want the original gel colour back, gently remove the regular polish with a remover compatible with your gel system, testing one nail before doing the full manicure.
A gel manicure can still look glossy and strong even when the colour no longer matches your outfit, an event, or your mood. Repainting it with traditional lacquer is a practical way to change the appearance without immediately removing the gel underneath.
The technique works because cured gel and regular nail polish harden in different ways. Gel polish is cured under the lamp specified for its system, while traditional lacquer dries in the air as its solvents evaporate. Once the gel is completely cured and cleansed, it can act as a smooth base for ordinary polish.
CHECK THE GEL FIRST
When it is safe to put regular nail polish over gel
Repainting is most successful when the existing gel is still in good condition. Before opening the lacquer bottle, inspect every nail in bright light.
- The gel has completed the correct lamp-curing process.
- The sticky inhibition layer, if the system has one, has already been cleansed.
- The surface is smooth, clean, and free from cuticle oil or hand cream.
- There is no lifting around the cuticle, sidewalls, or free edge.
- There are no deep cracks exposing the natural nail.
- The nails and surrounding skin feel comfortable.
DO NOT COVER THE PROBLEM
When you should not paint over gel nails
The gel is lifting
Colour can hide the edge of lifted product, making the condition harder to monitor. Have the lifted area repaired or remove the manicure according to its system.
The gel is cracked or separating
A cosmetic layer will not restore the structure. Deep cracks may continue spreading underneath the regular polish.
The gel feels soft or puckered
Soft, wrinkled, or gummy gel may not be properly cured. Do not add more product over it. Follow the manufacturer’s removal guidance or seek help from a qualified nail professional.
The skin is irritated
Stop using the products if you notice burning, swelling, itching, blistering, or a persistent rash. Do not use extra polish to cover a reaction.
Nail products should be used according to their labels and in a ventilated area. The U.S. Food and Drug Administration notes that nail products can cause irritation, infection, or allergic reactions in some people.
KEEP THE SETUP SIMPLE
What you need to repaint a gel manicure
| Item | Purpose | Is it essential? |
|---|---|---|
| Lint-free wipe | Removes dust, oil, and surface residue | Recommended |
| Isopropyl alcohol or the gel brand’s cleanser | Cleans the cured gel surface before painting | Recommended |
| Regular base coat | Can improve colour adhesion and make removal more predictable | Optional |
| Regular nail lacquer | Provides the temporary colour change | Essential |
| Regular top coat | Adds gloss and protects the air-dried colour | Recommended |
| Small cleanup brush | Removes lacquer from the surrounding skin | Optional |
| Compatible nail-polish remover | Removes the temporary lacquer later | Needed for removal |
STEP-BY-STEP METHOD
How to apply regular nail polish over gel
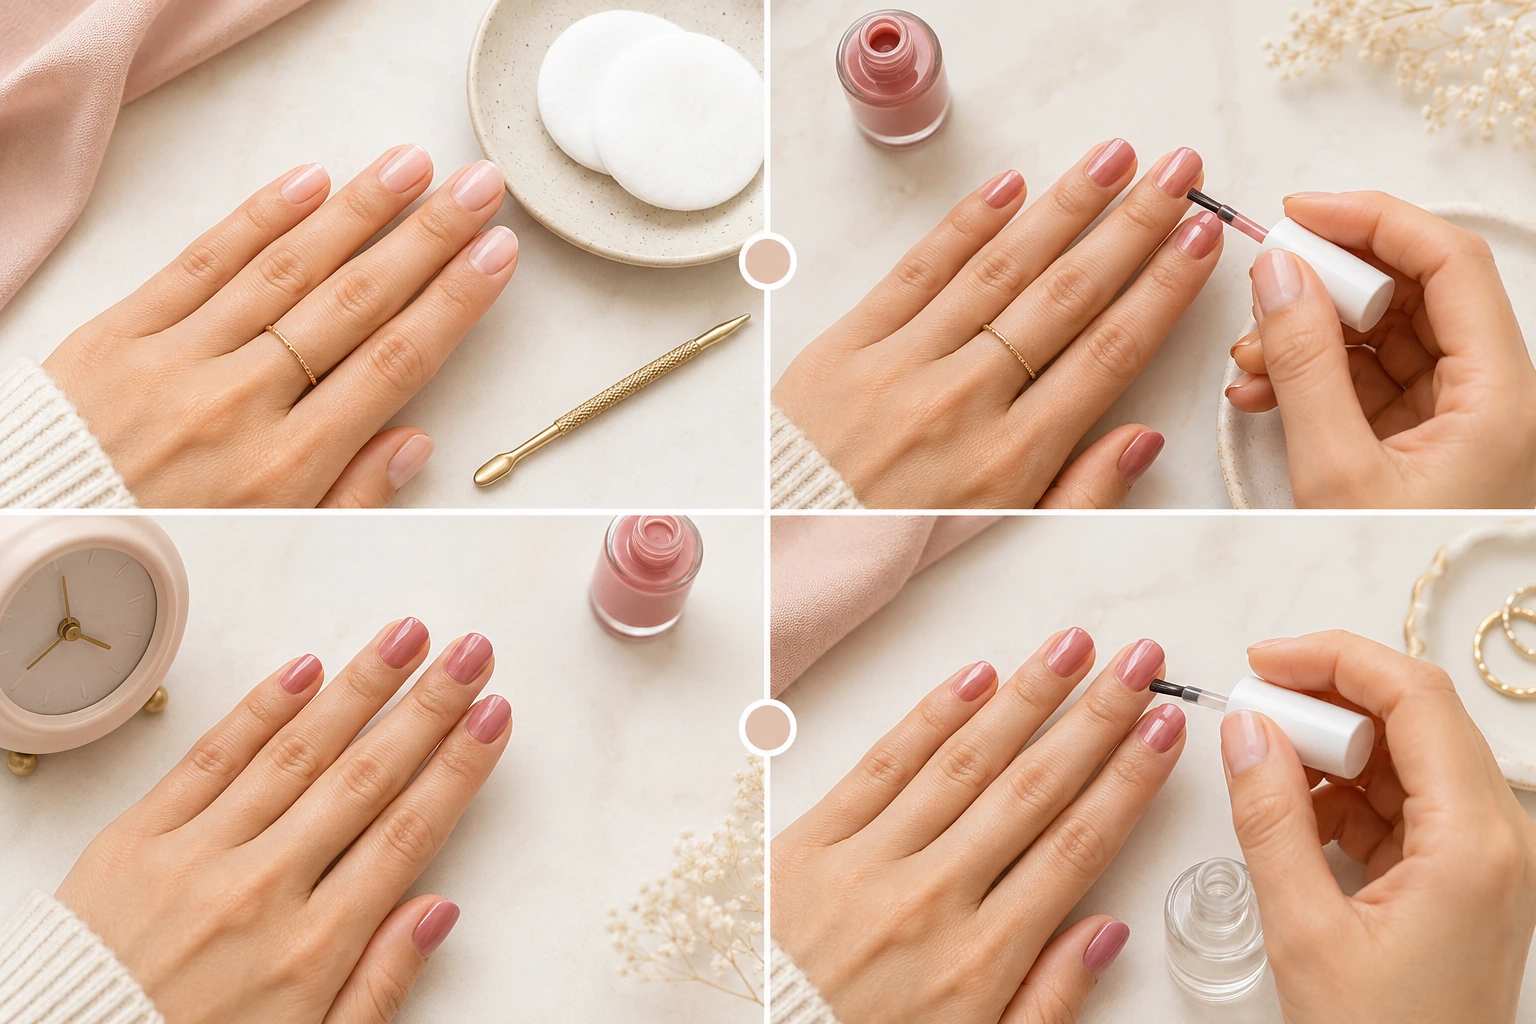
-
1
Inspect the gel manicure
Check the cuticle line, sides, and tips for lifting, cracks, softness, or trapped moisture. Continue only if the gel is intact.
-
2
Wash and dry your hands
Remove surface dirt and allow the nails to dry completely. Avoid applying lotion or cuticle oil before painting.
-
3
Clean the gel surface
Wipe each nail with a lint-free pad and a compatible cleanser or a small amount of isopropyl alcohol. This removes oil that can cause the lacquer to slide or peel.
-
4
Decide whether to use regular base coat
A thin regular base coat is optional. Use it when you want extra adhesion or when the temporary shade may stain. Let it air-dry as directed.
-
5
Apply the first thin colour coat
Place the brush near the centre, push carefully toward the cuticle without touching the skin, and pull toward the free edge. Keep the coat thin and even.
-
6
Let the first coat air-dry
Regular lacquer does not cure like gel. Do not put it under a lamp unless the lacquer manufacturer specifically says the product is designed for that system.
-
7
Add a second thin coat if needed
Build opacity gradually. Two thin coats generally dry more evenly than one thick, heavy layer.
-
8
Finish with regular top coat
Float one smooth layer over the colour and cap the free edge. Allow the manicure to air-dry and continue hardening before exposing it to pressure.
TEST-NAIL METHOD
Try one nail before repainting all ten
Product combinations can behave differently. Painting and later removing one test nail helps you confirm adhesion, drying, and remover compatibility before committing to the full manicure.
SURFACE PREPARATION
Do you need to buff gel before applying regular polish?
Not always. If you want a temporary colour change that will be easy to remove, cleaning the glossy gel surface may be enough. Regular polish may not last as long on a very slick surface, but this can be useful when you plan to change the colour again soon.
For better grip, some professional techniques use a very light buff to remove surface shine. This should only affect the top surface, not thin the structure or expose the natural nail. Skip buffing when the gel layer is already thin, damaged, lifting, or when you are unsure how much product is present.
SKIP BUFFING WHEN
You want a short-term colour change
Clean the gel thoroughly and use thin regular-polish layers. Expect easier removal but possibly shorter wear.
CONSIDER LIGHT BUFFING WHEN
You want stronger temporary adhesion
Use a fine buffer only on intact product and stop as soon as the shine is reduced. Follow the gel brand or nail professional’s instructions.
CHOOSE THE RIGHT FINISH
Regular top coat or gel top coat?
For the simplest at-home method, use a regular air-drying top coat over regular lacquer. It belongs to the same type of system and does not require lamp curing.
Applying gel top coat directly over ordinary polish can trap solvents if the lacquer is not completely dry, causing wrinkling, shrinking, or poor wear. Only combine the systems when the product manufacturer gives instructions for that exact method.
If you are unsure, do not experiment with a gel top coat. Use regular top coat and let every layer dry in the air.
DRYING EXPECTATIONS
How long should regular polish dry over gel?
Drying time depends on the lacquer, coat thickness, room conditions, and top coat. Follow the times printed on your products. A manicure can feel dry on the surface while remaining soft enough to dent underneath.
Handle with care
The surface no longer transfers easily, but pressure can still leave marks.
Avoid scraping and pressure
Keep the nails away from tight shoes, bedding, zips, and heavy cleaning.
Allow extra time
Lower layers continue setting after the surface first feels dry.
RETURN TO THE ORIGINAL GEL COLOUR
How to remove regular nail polish without ruining the gel
- Check the gel manufacturer’s guidance. Different gel systems and top coats can respond differently to removers.
- Test one nail first. Apply a small amount of remover and check whether the gel loses shine, softens, or changes colour.
- Use a gentle wiping method. Hold the remover-dampened pad on the lacquer briefly, then wipe without scraping.
- Stop if the gel begins to soften. Do not continue rubbing through the cured gel layer.
- Wash and moisturise afterward. Once the regular colour is gone, wash your hands and apply cuticle oil around the nail unless you plan to repaint immediately.
Ready to remove the entire gel manicure instead? Follow our guide to removing gel nail polish at home rather than peeling or scraping it off.
TROUBLESHOOTING
Common mistakes when painting over gel
Painting over lifting gel
Regular lacquer can disguise lifting without correcting it. Repair or remove the lifted product before adding colour.
Applying thick colour coats
Thick coats dry slowly and may wrinkle, dent, or slide on the smooth gel surface. Use thin layers and build coverage gradually.
Using cuticle oil immediately before painting
Oil can reduce adhesion. Apply oil after the manicure has dried rather than before the colour change.
Trying to cure ordinary polish in a gel lamp
Traditional lacquer is designed to air-dry. A lamp does not turn it into gel polish unless the product is specifically formulated as part of a lamp-cured system.
Sealing wet regular polish under gel top coat
Trapped solvents can cause wrinkling or poor adhesion. Use regular top coat unless your manufacturer supports a specific combined system.
Removing the temporary colour with aggressive scraping
Scraping can mark the gel and the natural nail. Soften and wipe the regular lacquer with a compatible remover.
HELPFUL VARIATIONS
Three easy ways to refresh gel nails with regular polish
Full colour change
Cover the original shade with an opaque lacquer. Darker colours usually cover more easily than pale or sheer shades.
Accent nails
Repaint only one or two nails to coordinate the manicure with an outfit or event.
Simple nail art
Add dots, slim lines, micro French tips, or small flowers over the cured gel base. See our beginner nail-art tutorials .
QUICK ANSWERS
Regular nail polish over gel FAQ
Can you put regular nail polish over gel polish?
Yes. Apply it over gel that is fully cured, cleansed, intact, and free from oil. Use thin regular-polish coats and finish with regular top coat.
Can you use normal nail polish on gel nails without buffing?
Yes. Clean the glossy gel surface thoroughly and apply thin lacquer coats. The wear may be shorter than it would be on a lightly buffed surface, but removal can be easier.
Do you need base coat over gel nails?
A regular base coat is optional. It may improve adhesion, reduce staining, and make the temporary manicure more predictable, but it also adds another drying layer.
Can you use regular top coat over gel polish?
Yes. Regular top coat can be used as part of the temporary air-drying colour layer. It will not cure or change the gel underneath.
Can you put gel top coat over regular nail polish?
It is not the safest default method because ordinary lacquer may remain soft beneath the gel layer. Use it only when the manufacturer provides instructions for combining those exact products.
How do you remove normal polish from gel nails?
Test a compatible remover on one nail, hold a dampened pad briefly against the lacquer, and wipe gently. Stop if the gel underneath softens or loses its finish.
Will regular polish last as long as gel polish?
Usually not. The regular colour remains an air-dried coating on top of the cured gel and may chip sooner, especially if the gel surface is very glossy.
Can regular polish hide gel regrowth?
It can make the colour more uniform temporarily, but it does not rebalance the structure or repair lifting. Schedule proper maintenance when the gel has grown out.
TEMPORARY COLOUR, SIMPLE METHOD
Keep the gel intact and let the lacquer air-dry
Clean the surface, use thin regular-polish layers, finish with regular top coat, and test your remover on one nail when you are ready to reveal the gel colour again.