BEGINNER-FRIENDLY NAIL ART
10 Easy Nail Art Tutorials for Beginners, Step by Step
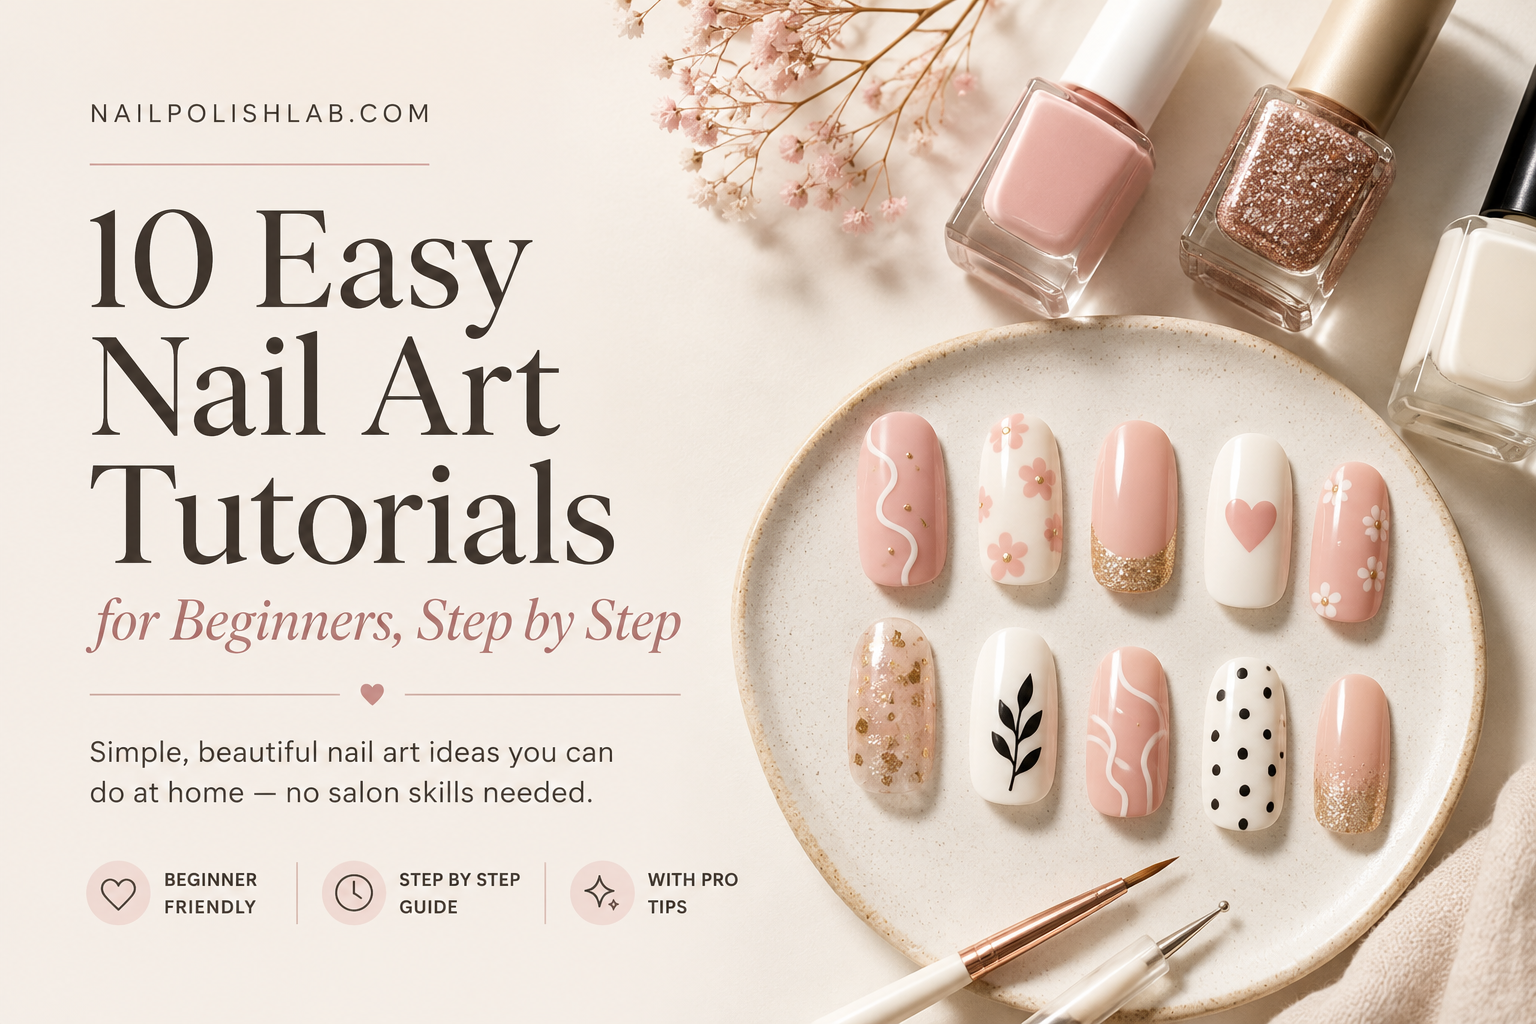
Learn how to create polished nail art at home with simple tools, clear instructions, and forgiving designs that still look beautiful on short or long nails.
QUICK ANSWER
The easiest nail art designs for beginners
Start with dots, slim stripes, micro French tips, tiny flowers, and simple colour blocks. These designs use basic motions and can be made with a toothpick, bobby pin, makeup sponge, or a small piece of tape. Apply thin coats, let each layer dry, and finish with top coat.
Nail art can look complicated when every inspiration photo appears perfectly precise. In practice, beginner-friendly nail art is less about having a professional kit and more about choosing a design that gives you room to adjust. A slightly uneven dot can become a flower petal. A stripe that is not perfectly centred can look intentionally modern. A soft ombré naturally hides small inconsistencies.
This guide focuses on easy nail art tutorials that work with regular nail polish and common household tools. Each design includes a difficulty level, an estimated working time, and a simplified option for your non-dominant hand. For more inspiration before you begin, browse our complete nail ideas library.
BEFORE YOU PAINT
What you need for easy nail art at home
You do not need every tool at once. Choose one design, collect only the items required for it, and keep a cleanup brush or cotton swab nearby.
| Item | Why it helps | Beginner substitute |
|---|---|---|
| Base coat | Creates a smoother starting surface and helps reduce staining | A clear polish you already trust |
| Two or three polish colours | Keeps the design coordinated without becoming confusing | One main colour plus white or black |
| Dotting tool | Makes circles, petals, and small accents | Bobby pin, toothpick, or rounded pinhead |
| Fine nail-art brush | Creates thin lines and small details | Clean eyeliner brush or toothpick |
| Makeup sponge | Blends colours for ombré and gradients | Small piece of a clean cosmetic sponge |
| Striping tape or painter's tape | Creates crisp sections and straight guides | Thin pieces of regular tape with reduced stickiness |
| Top coat | Smooths the finished design and adds shine | Quick-dry clear polish |
Prepare your nails in five simple steps
- Remove old polish. Start with a clean nail plate and wash away remover residue.
- Shape gently. File rough edges without sawing aggressively from side to side.
- Clean the surface. Wipe each nail with a little remover or alcohol to remove oil.
- Apply base coat. Use one thin layer and let it become touch-dry.
- Paint the base colour. Two thin coats usually dry more evenly than one thick coat.
STEP-BY-STEP DESIGNS
10 easy nail art tutorials for beginners
Practise one design as an accent nail first. Once the movement feels comfortable, repeat it across the full manicure or combine two coordinating techniques.
Classic polka-dot nails
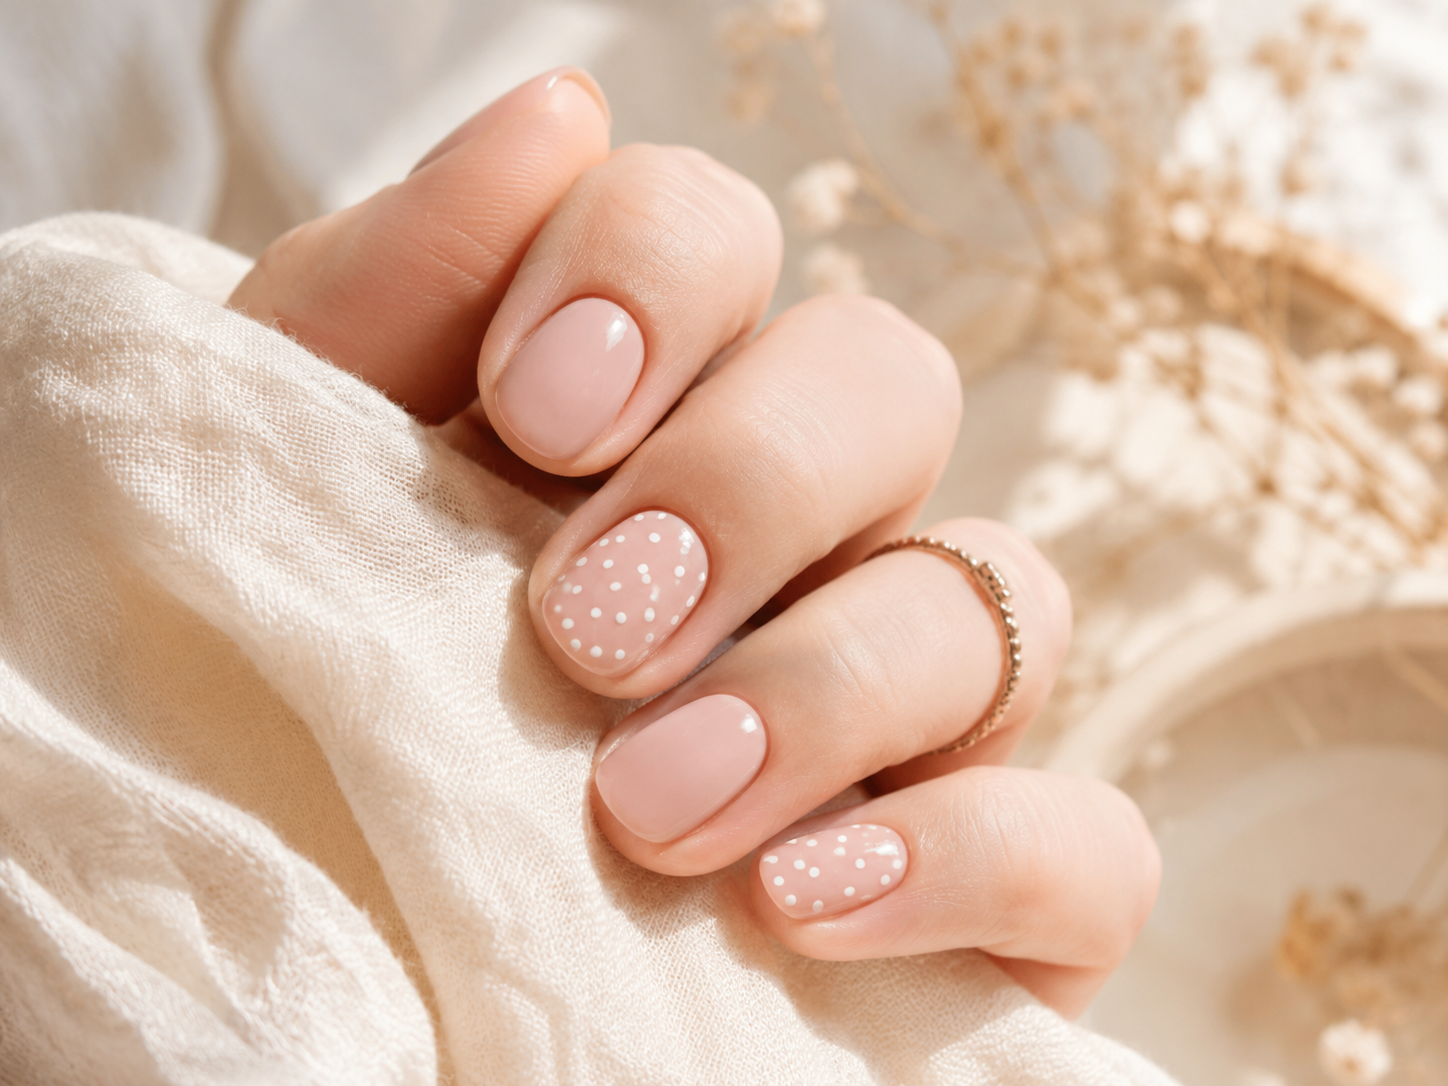
- Apply your base colour and let it dry for several minutes.
- Place a small drop of contrasting polish on foil or a disposable surface.
- Dip the rounded end of a bobby pin into the polish.
- Press lightly onto the nail, spacing the dots rather than trying to make them identical.
- Let the dots set, then float top coat over the design without pressing the brush down.
Non-dominant-hand shortcut: Use fewer, slightly larger dots.
Soft micro French tips
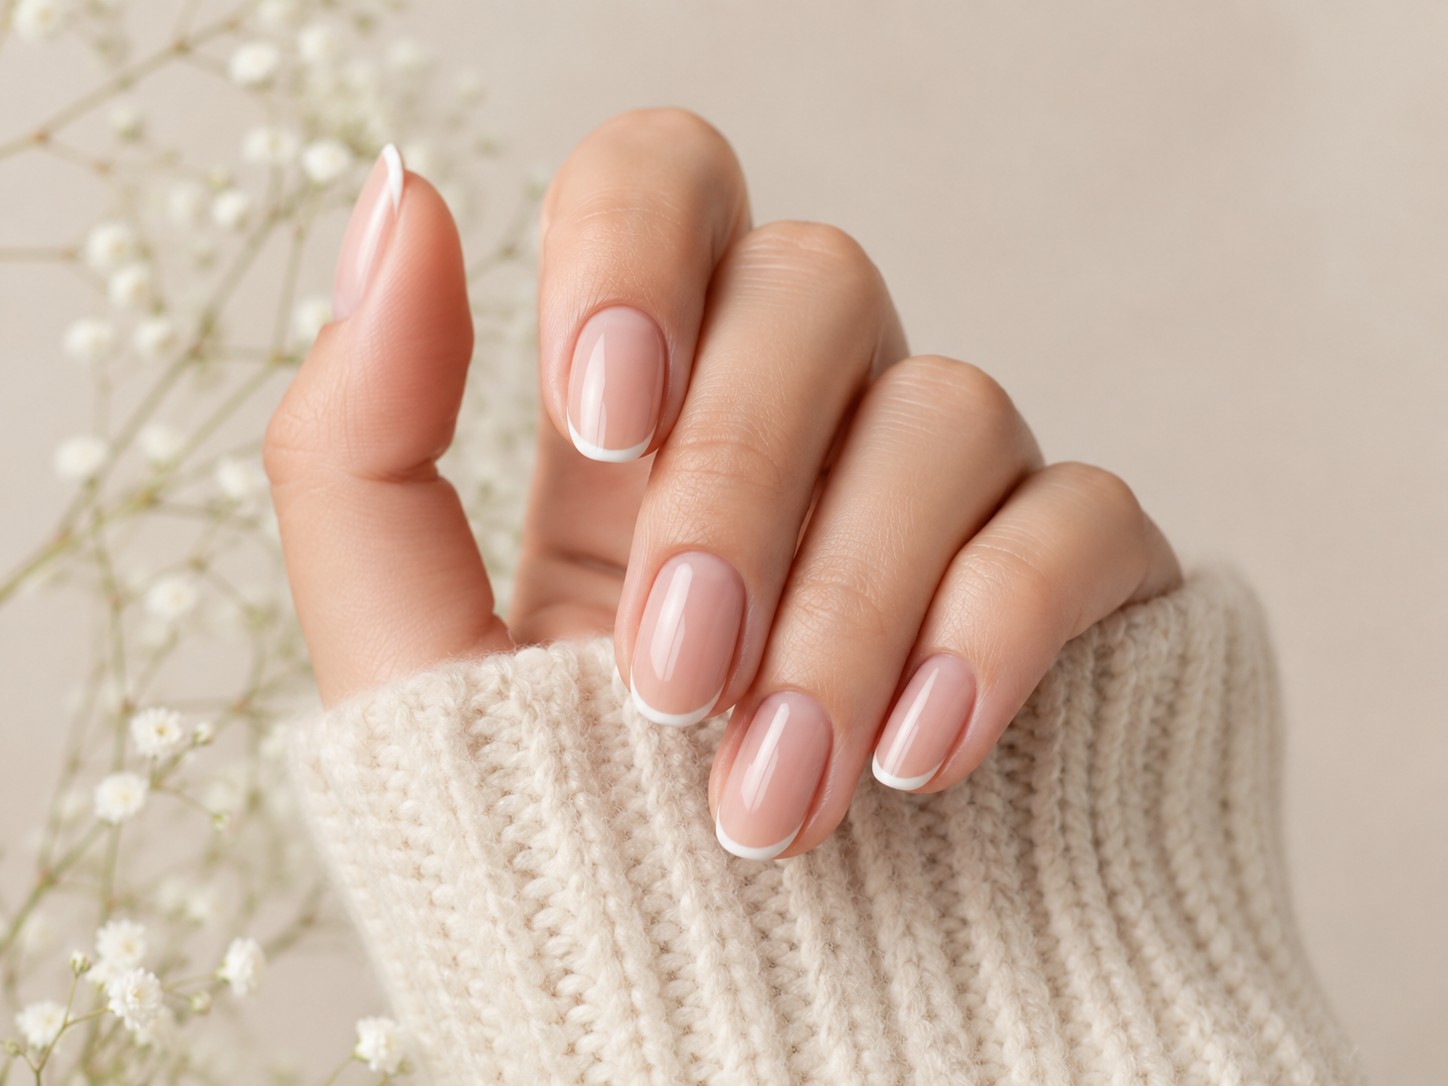
- Apply a sheer nude, pale pink, or clear base.
- Wipe most polish from a fine brush so only a small amount remains.
- Draw one short curved line across the free edge of the nail.
- Correct the shape with a small brush lightly dampened with remover.
- Seal the tip with a thin, glossy top coat.
Easier option: Use the side of the polish brush to tap colour along the edge instead of drawing one continuous line.
Tiny daisy accent nails
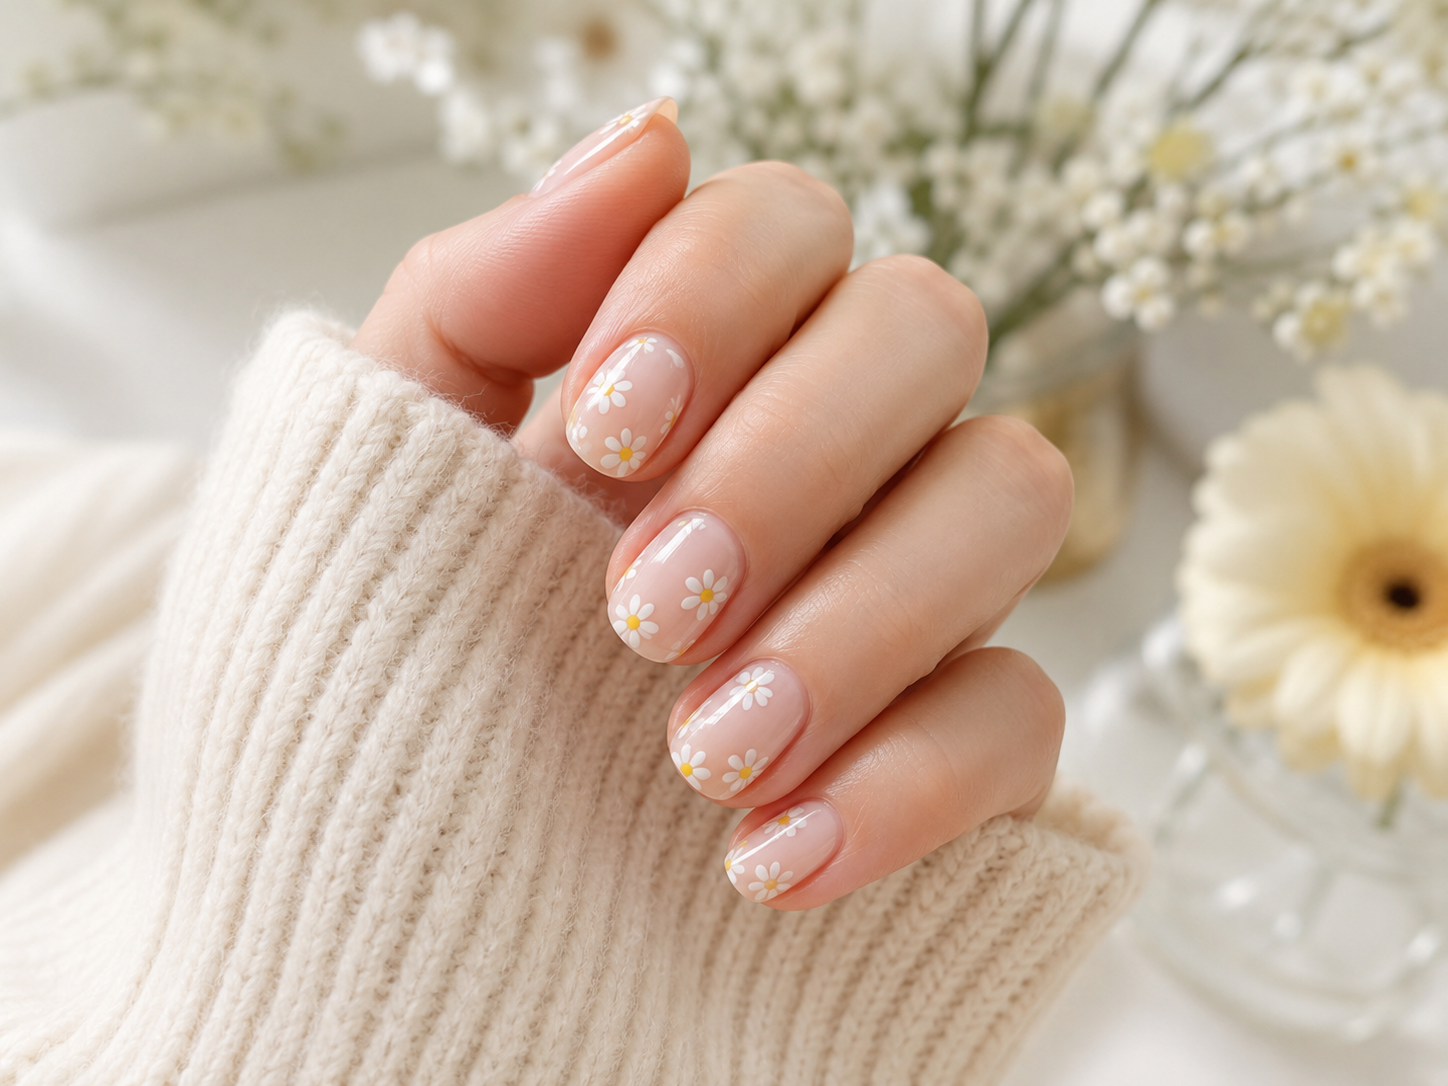
- Paint your nails with a neutral or pastel base colour.
- Create five small white dots in a circle.
- Add one yellow, gold, or contrasting dot in the centre.
- Repeat once or twice, leaving some open space around each flower.
- Wait until the petals are no longer raised before adding top coat.
Design rule: Odd-numbered groups, such as one or three flowers, usually look more balanced.
Minimal side-stripe nails
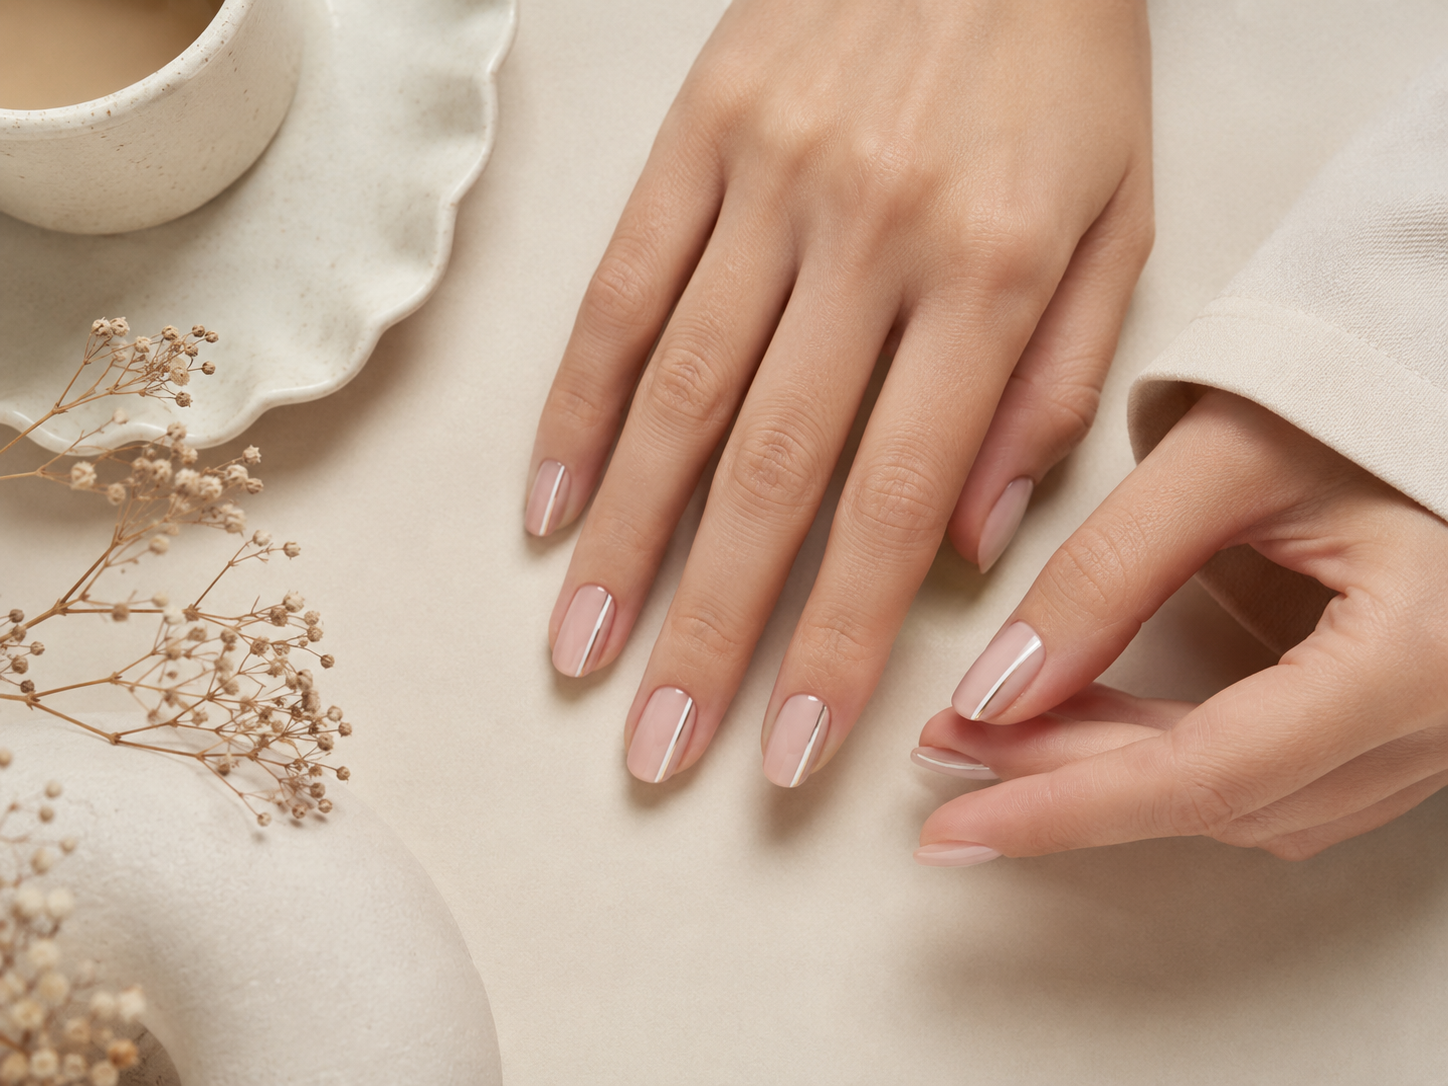
- Apply a solid base colour and allow it to dry fully.
- Load a fine brush with a contrasting shade.
- Rest your painting hand on the table for stability.
- Draw a slim line from the cuticle area toward the tip, slightly off centre.
- Repeat only on selected nails for an intentionally minimal finish.
Steadier method: Keep the brush still and slowly rotate the finger beneath it.
Two-colour block nails
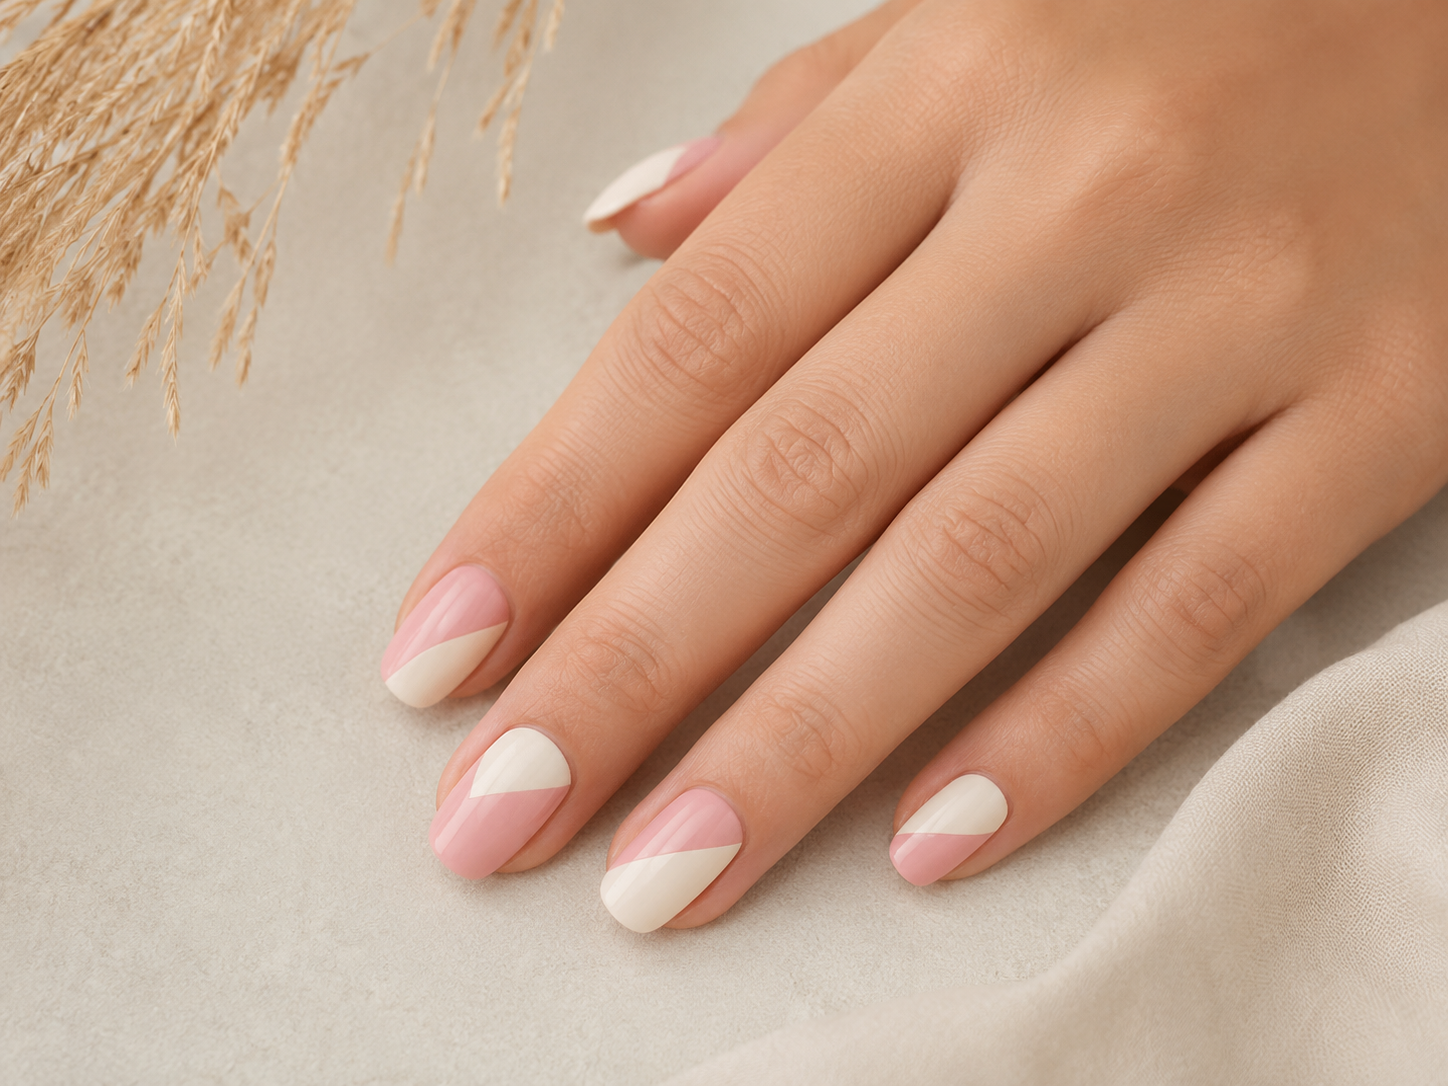
- Apply the lighter colour over the full nail and let it dry completely.
- Place tape diagonally across the nail and press the edges down gently.
- Paint the exposed section with the darker shade.
- Remove the tape while the second colour is still slightly wet.
- Let the line settle, then apply top coat.
Prevent lifting: Press tape against the back of your hand first so it is less sticky.
Soft sponge ombré nails
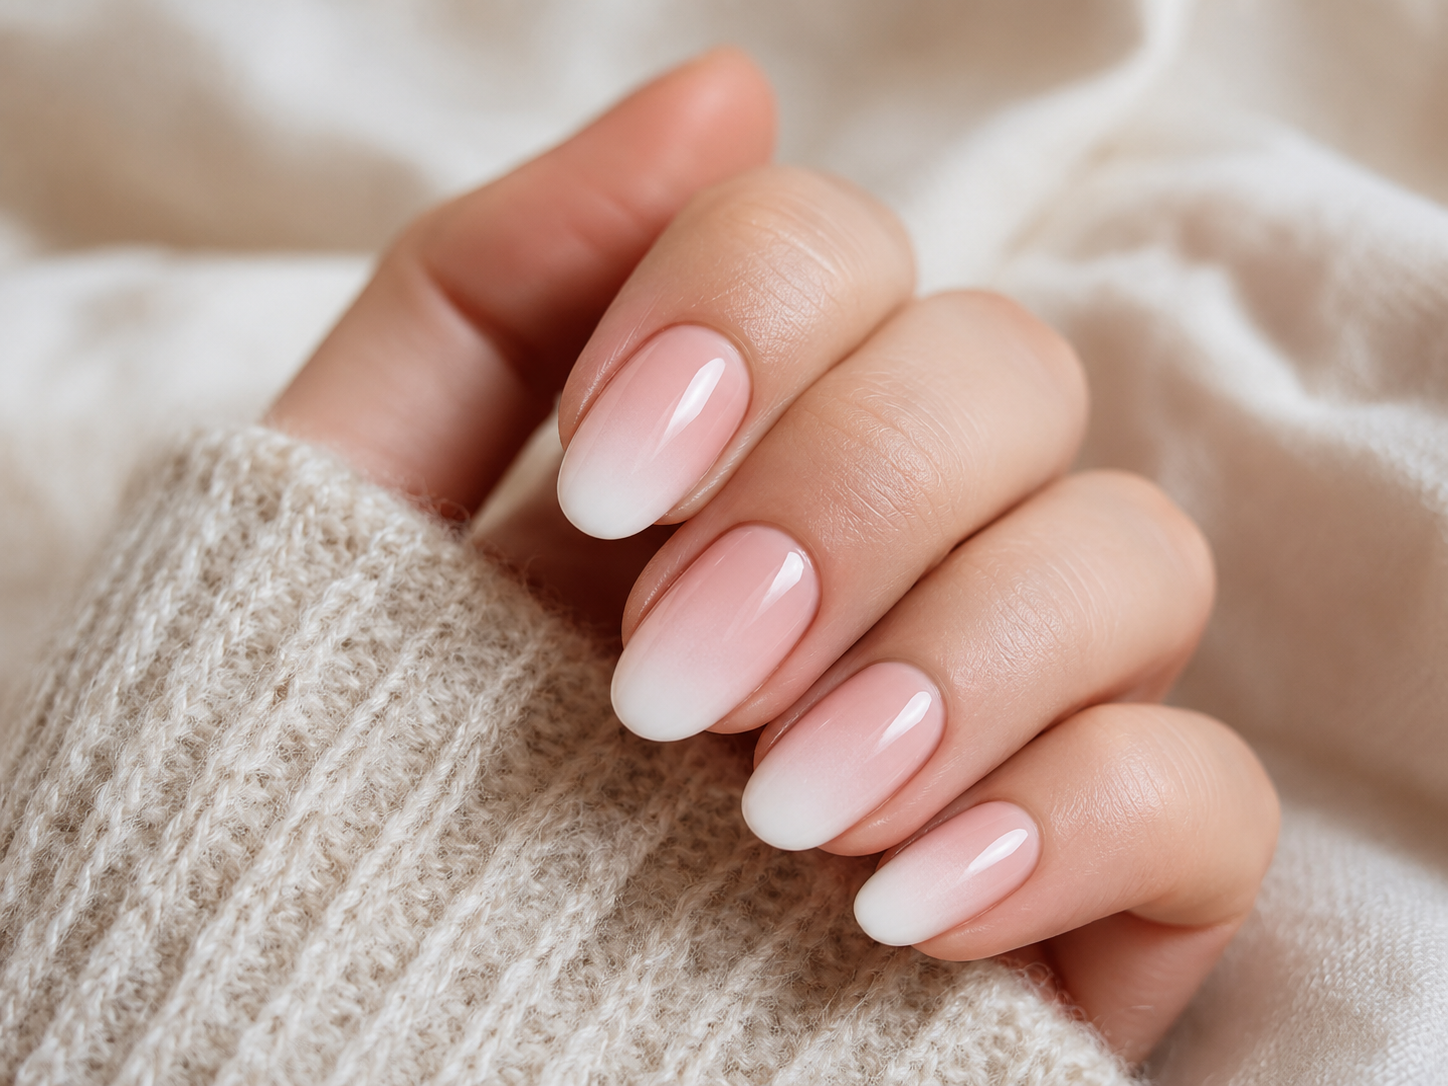
- Apply one coat of the lighter colour as your base.
- Paint two touching stripes of polish onto a small makeup sponge.
- Dab once on foil to remove excess polish.
- Press and roll the sponge gently across the nail.
- Repeat in thin layers until the blend looks soft.
- Clean the surrounding skin and add top coat to smooth the texture.
Colour pairing: Choose neighbouring shades, such as blush and coral, for the easiest blend.
Simple leopard-spot nails
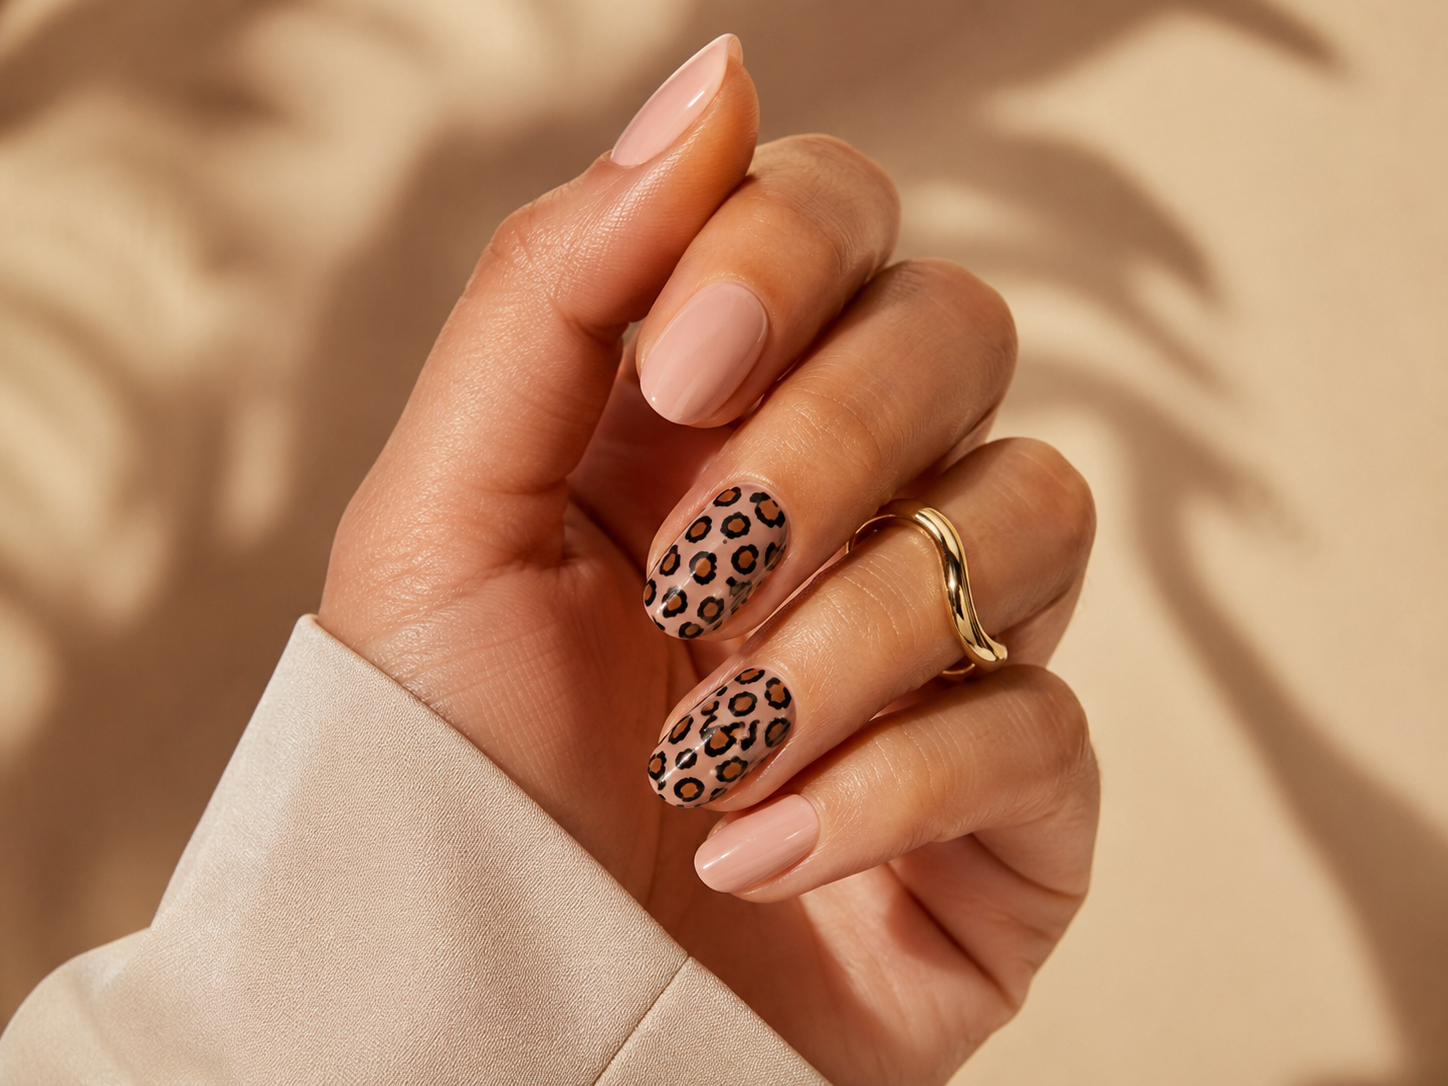
- Apply a warm nude, pale pink, or neutral base.
- Add small irregular dots in a second colour.
- Use a toothpick and dark polish to draw broken C-shapes around some dots.
- Add a few tiny dark marks in the empty spaces.
- Finish with top coat after all details are touch-dry.
Why it works: Uneven spacing makes this design look more natural, not less accurate.
Tiny heart accent nails
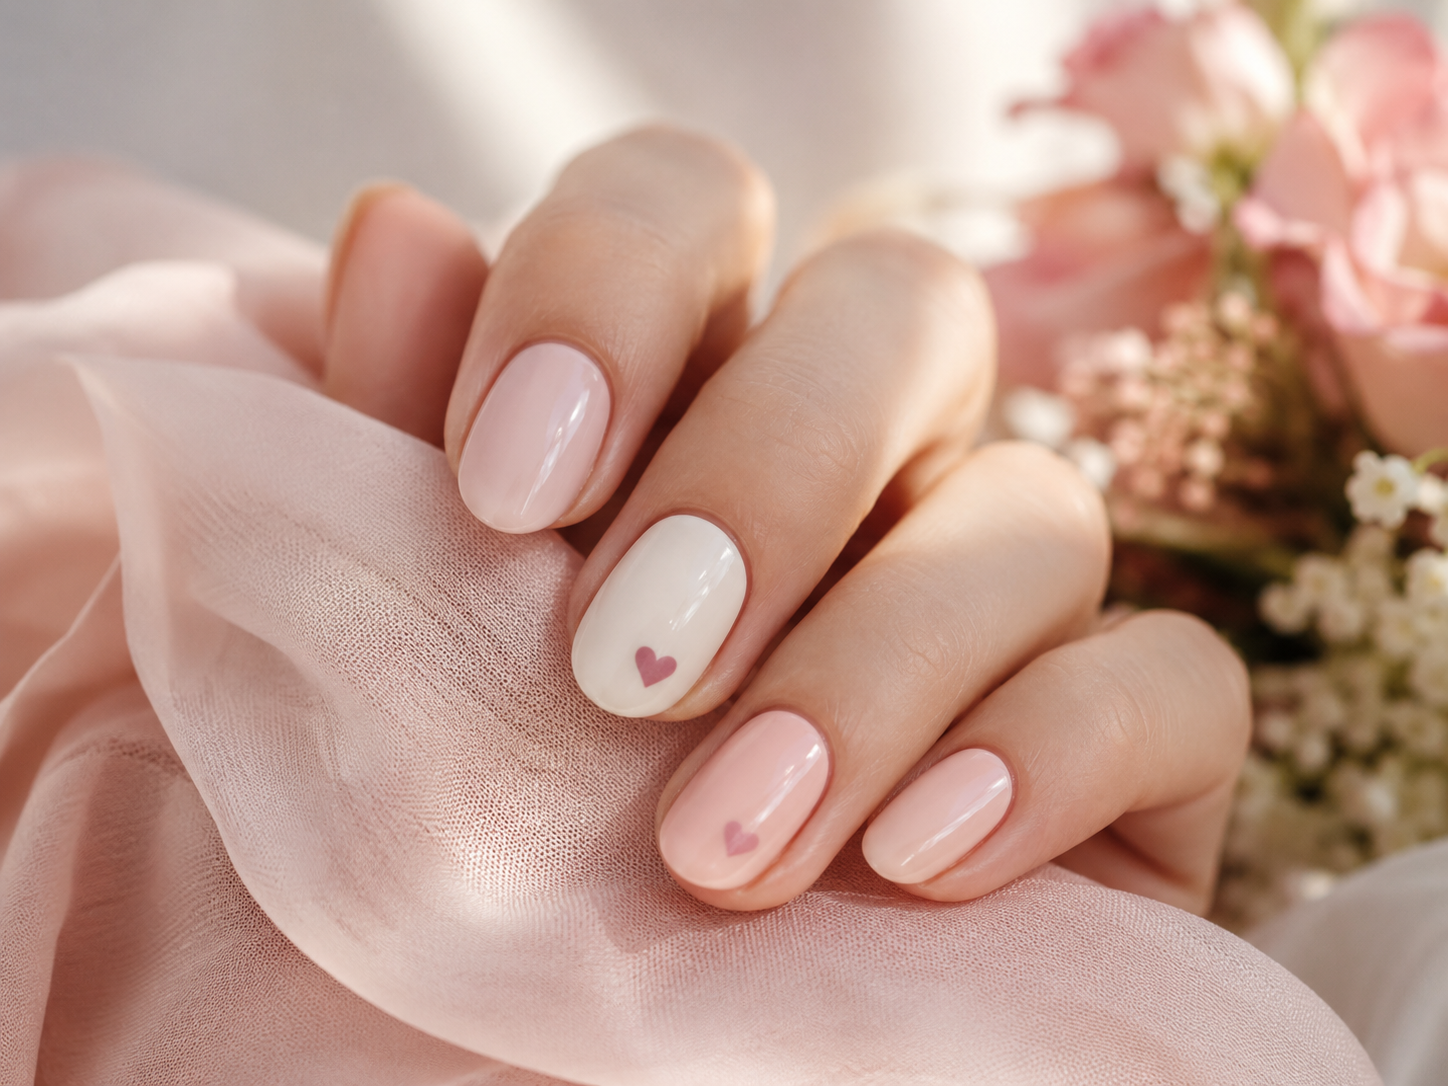
- Apply a simple base colour.
- Place two small dots next to each other.
- Drag each dot downward with a toothpick until the lines meet in a point.
- Refine the top curve with one tiny additional dot if needed.
- Use the heart on one or two nails rather than every nail.
Placement idea: Position the heart near the cuticle for a delicate negative-space look.
Beginner checkerboard accent
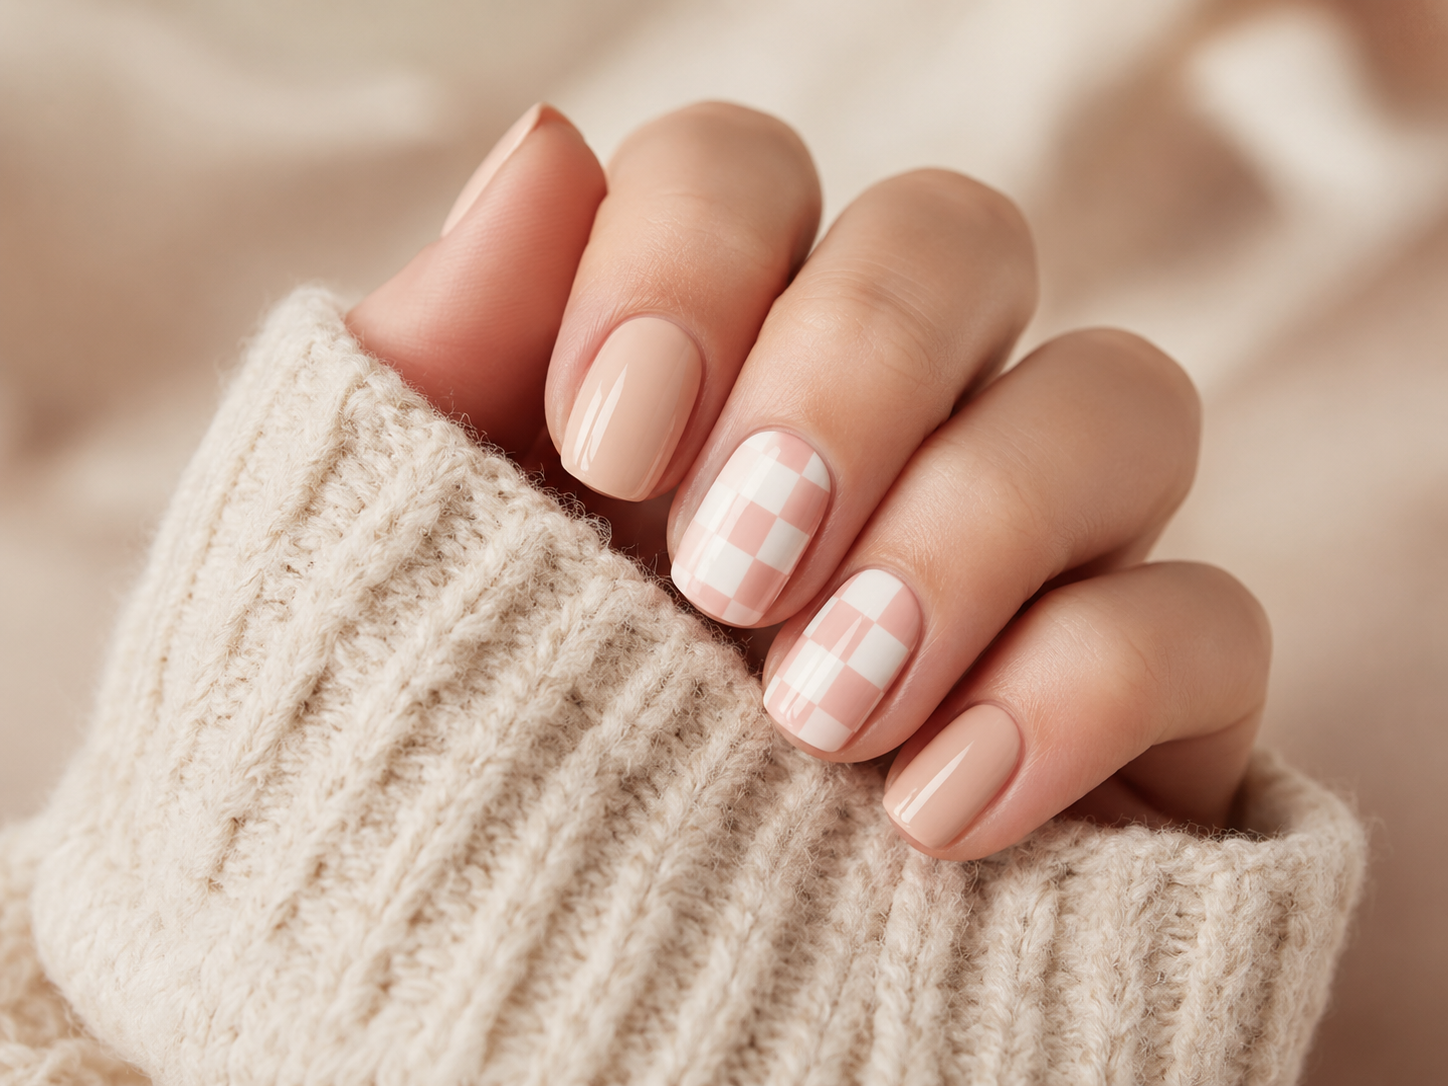
- Apply a pale base colour and let it dry.
- Draw two vertical and two horizontal guide lines.
- Fill alternating squares with your contrasting shade.
- Leave the remaining squares as the base colour.
- Clean the outer edges and finish with a smoothing top coat.
Keep it manageable: Use a larger four-square checker rather than many tiny squares.
Soft marble swirl nails
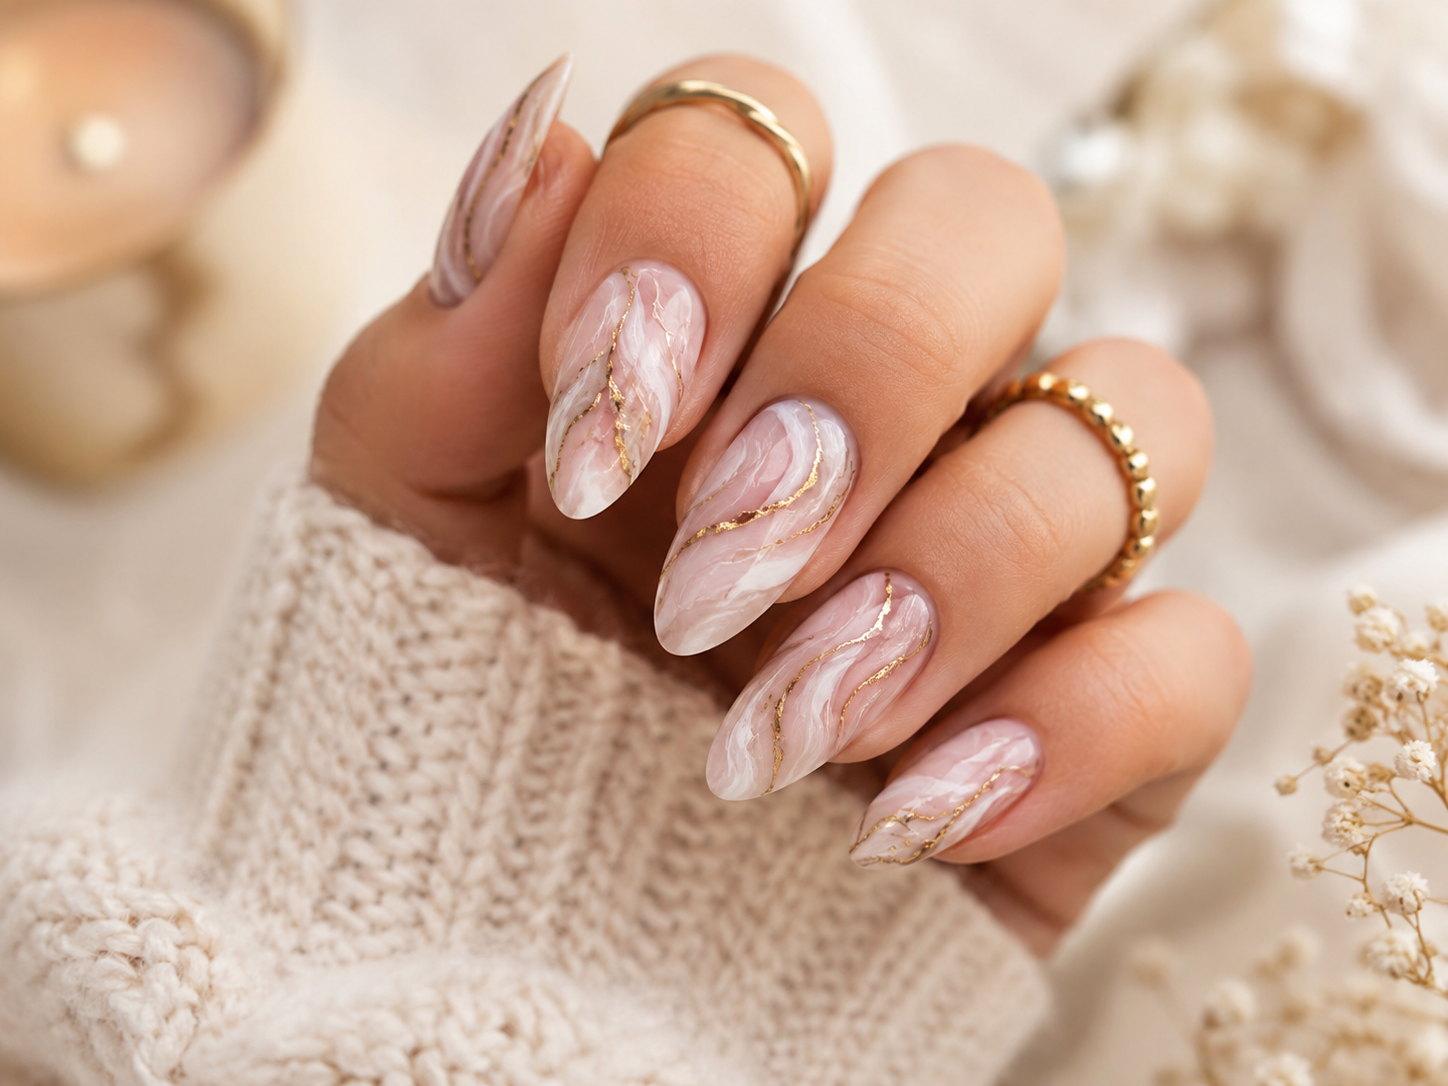
- Apply a pale base and keep your second colour nearby.
- Add two or three thin, curved lines while the final base layer is slightly tacky.
- Use a clean fine brush to soften sections of each line.
- Add one very thin metallic or darker vein for depth.
- Stop before the pattern becomes crowded, then apply top coat.
Beginner advantage: Marble is abstract, so every nail can be different.
CHOOSE YOUR FIRST DESIGN
Which beginner nail art tutorial should you try?
Polka dots
Best when you want a complete design with almost no setup.
Micro French tips
A thin tip adds definition without visually shortening the nail.
Soft ombré
The blended texture makes small differences less noticeable.
Checkerboard
Use it on one nail and keep the rest of the manicure simple.
TROUBLESHOOTING
Seven common beginner nail art mistakes
Using polish coats that are too thick
Thick coats stay soft underneath and can drag when you add details. Use thin layers and build opacity gradually.
Starting the design before the base colour is dry
Tape, dotting tools, and brushes can lift a soft base. Give the base extra drying time before adding art.
Loading too much polish onto the tool
Dip lightly, test on foil, and then touch the nail. You can add more polish, but removing a large blob is difficult.
Trying to make every nail identical
A coordinated set does not require exact copies. Repeat the same colours, scale, or motif instead.
Painting while your hand is unsupported
Rest both hands on a table. Keep your elbows steady and move the finger beneath the brush when possible.
Brushing top coat too aggressively
Use a generous bead and glide it over the design. Repeated pressure can smear details that appear dry on the surface.
Peeling off a design you dislike
Peeling can pull at the nail surface. Remove regular polish gently and moisturise afterward. For gel, follow a proper removal method rather than lifting or scraping it off.
Wearing gel polish instead of regular lacquer? Follow our detailed guide on how to remove gel nail polish at home without peeling it off.
MAKE IT LAST
How to help at-home nail art stay neat
- Remove surface oil before applying base coat.
- Use thin layers and allow drying time between them.
- Cap the free edge with colour and top coat.
- Wear gloves for prolonged cleaning or dishwashing.
- Apply cuticle oil around the nail after the manicure is fully dry.
- Refresh the shine with another thin top-coat layer when needed.
A SIMPLE PRACTICE PLAN
Build confidence in three manicures
Dots and accents
Paint one solid colour and add dots to only the ring fingers. Focus on polish control.
Lines and spacing
Try side stripes or micro French tips. Focus on supporting your hand and using less polish.
Layered technique
Try ombré, leopard spots, or marble. Focus on waiting between layers and stopping before the design feels crowded.
QUICK ANSWERS
Easy nail art for beginners FAQ
What is the easiest nail art design for a beginner?
Polka dots are usually the easiest because they require one repeated motion and can be made with a bobby pin or toothpick. Side stripes and tiny flowers are also beginner-friendly.
Can I do nail art without professional tools?
Yes. A toothpick can draw details, a bobby pin can make dots, a makeup sponge can blend ombré, and tape can create straight colour blocks.
How long should nail polish dry before adding a design?
Wait until the base feels dry and firm rather than merely touch-dry. Thin layers dry more reliably. Tape-based designs require more drying time than dots or freehand accents.
How do I paint nail art with my non-dominant hand?
Rest both hands on a table, use larger shapes, paint fewer details, and rotate the finger beneath a steady brush. Accent nails are easier than repeating a detailed design ten times.
Why does my top coat smear the nail art?
The design may still be soft, or the top-coat brush may be pressing against it. Wait longer, use a generous amount of top coat, and glide the brush lightly over the surface.
Which easy nail designs look good on short nails?
Micro French tips, tiny dots, side stripes, small daisies, and negative-space hearts work especially well because they do not require a large nail surface.
FIND YOUR NEXT MANICURE
Save more nail ideas for later
Explore designs by style, season, length, and manicure type in the NailPolishLab inspiration library.