Gel Nails at Home
Gel nails at home made simple, polished, and beginner-friendly.
Learn the basics of at-home gel nails, from nail prep and UV/LED lamps to gel polish, builder gel, curing, removal, tools, beginner mistakes, and soft manicure ideas you can actually recreate.
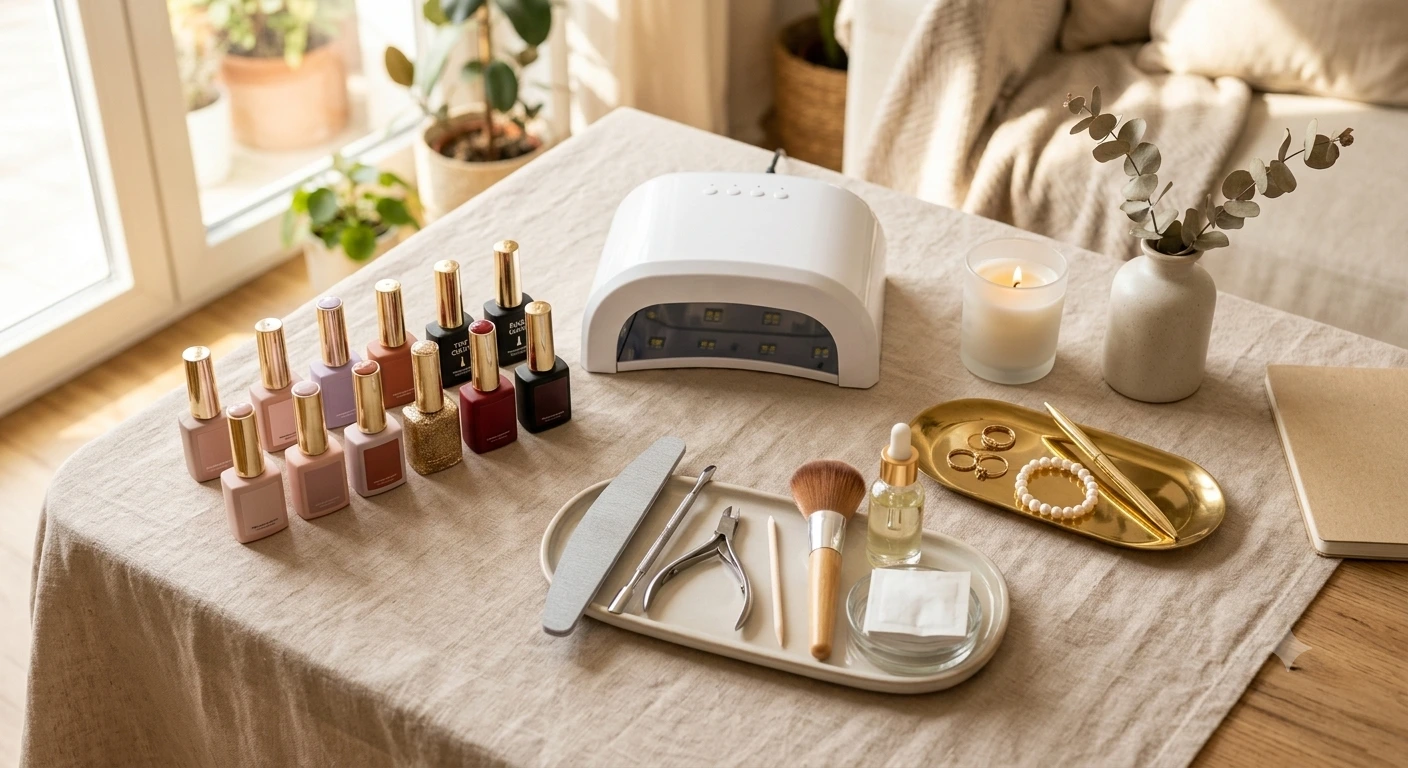
Quick answer
Can you do gel nails at home?
Yes, you can do gel nails at home if you use the right products, prep the nail properly, cure the gel with a compatible UV or LED lamp, and remove the manicure carefully.
The easiest beginner route is a simple gel polish manicure. Once you understand prep, curing, and removal, you can explore builder gel nails, chrome nails, French tips, and short gel nail ideas.
Beginner steps
How to do gel nails at home without making it complicated.
Use these six steps as a simple framework, then follow the instructions supplied with your chosen gel system and lamp. Product requirements and curing times can differ.
Prep the nail surface
Shape the nail and prepare it gently. Remove dust and surface oils, avoid aggressive filing, and do not cut or irritate the surrounding skin.
Apply a thin base layer
Use the base step recommended for your gel system. Apply a thin layer and keep uncured product off the skin and cuticle area.
Cure with a compatible lamp
Use the lamp and curing time specified by the product manufacturer. A lamp that is unsuitable for the gel system may not cure it as intended.
Add color or builder gel
Apply thin color layers first. Leave builder gel, detailed French tips, and chrome finishes until you are comfortable controlling the product without touching the skin.
Seal with top coat
Finish with the compatible top coat recommended for your gel system, then cure it exactly as directed.
Remove carefully later
Do not peel or force gel off. Follow the product’s removal instructions and stop if removal becomes painful or the natural nail begins lifting.
At-home manicure ideas
Gel nail ideas that are realistic for beginners.
Begin with one-color manicures and simple finishes. Once your preparation and curing routine feels consistent, add French tips, chrome, or builder gel gradually.
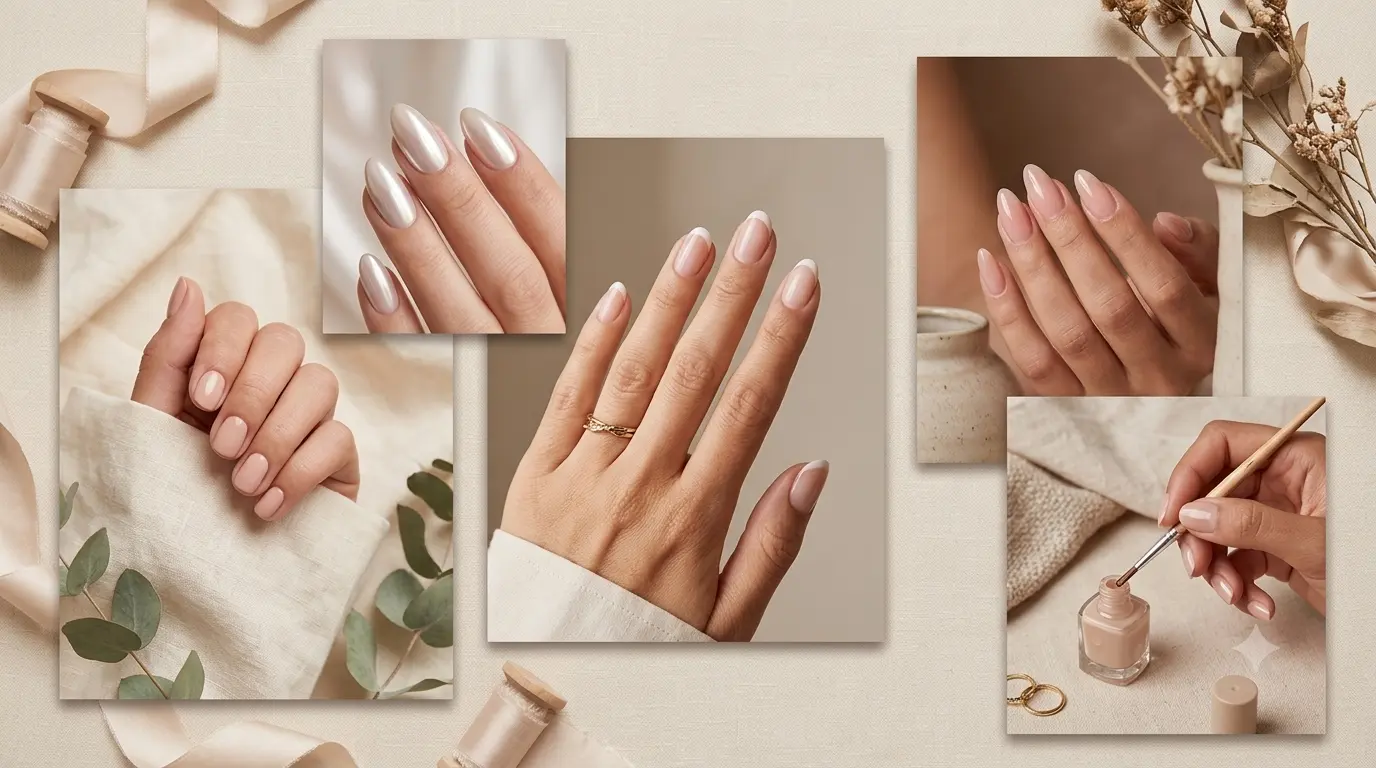
Soft nude gel nails
A sheer nude, pink, or milky shade makes uneven edges less noticeable while you practise thin, controlled layers.
Simple gel French tips
Start with micro tips on short nails and use a fine brush or guides only after the base color is fully cured.
Chrome over gel polish
A compatible chrome powder can add pearl or glazed shine over a properly cured surface and suitable top coat.
Natural builder gel overlay
Builder gel adds more structure than regular color gel, so learn basic preparation and curing before attempting an overlay.
Tool checklist
What you need for gel nails at home.
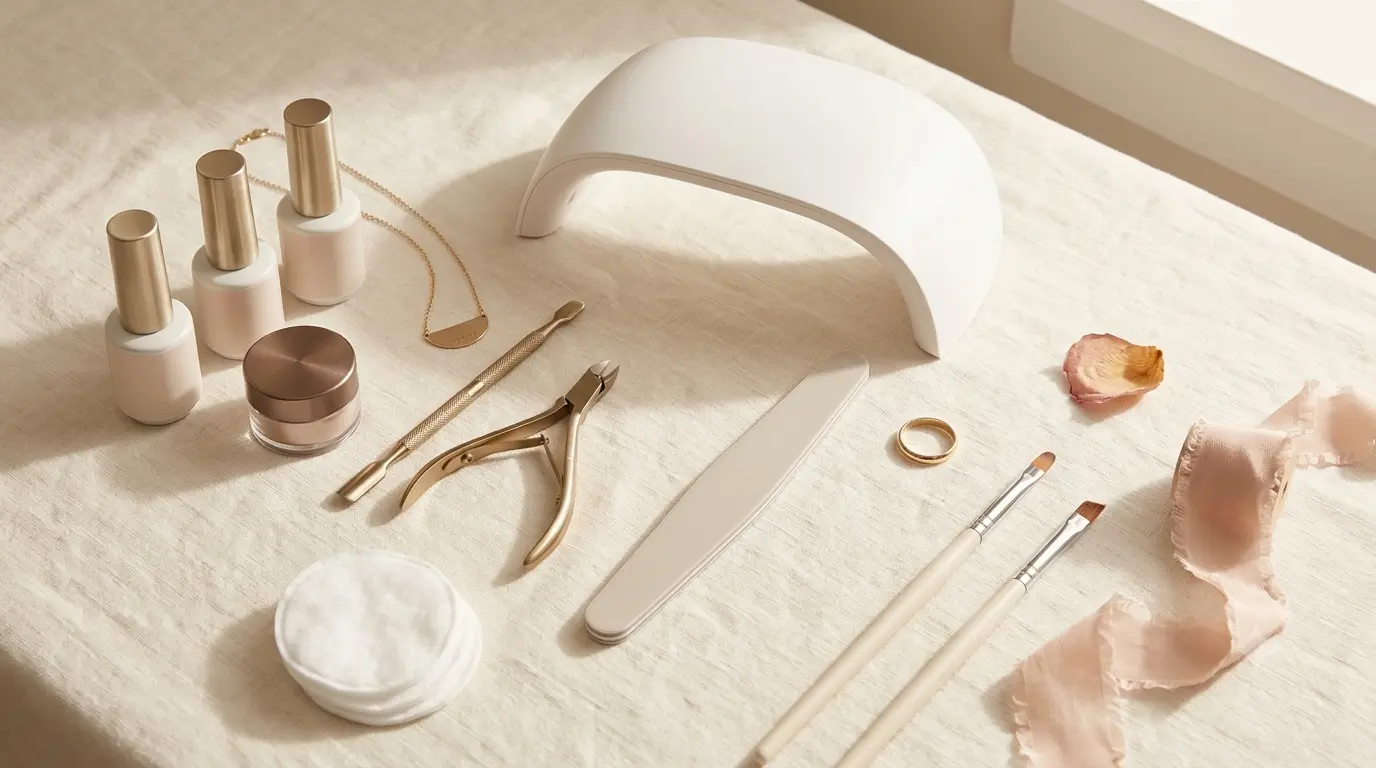
A basic setup should cover preparation, application, curing, and removal without filling your workspace with tools you do not understand or need.
Choose your method
At-home gel options for different skill levels.
Not every at-home gel manicure needs to start with advanced nail art. Start with the method that matches your patience, tools, and comfort level.
Best beginner route for color, shine, and simple short gel nails.
Best for stronger natural nail overlays once you understand prep and curing.
Best for glazed, pearl, mirror, or soft shine finishes over cured gel.
Best for quick manicures if you want the look without a full gel routine.
Related guides
Continue learning about gel manicures and at-home tools.
These related guides help you compare manicure methods, choose compatible tools, and move to the next step without repeating the basics.
Beginner mistakes
What to avoid when doing gel nails at home.
At-home gel nails can look beautiful, but poor prep, thick layers, wrong curing, or peeling product off can cause problems.
Applying gel too thick
Thin layers are easier to control and usually look smoother. Thick gel may wrinkle, feel hot during curing, or remain insufficiently cured.
Skipping proper prep
Oil and dust can affect wear time, but preparation should stay gentle. Avoid over-filing and keep uncured gel away from the skin.
Using the wrong lamp
Different gel products may require specific lamps and curing times. Follow the manufacturer’s instructions rather than using a universal curing time.
Peeling gel polish off
Peeling gel off can remove layers of the natural nail. Use the removal method stated for the product and work gently.
Quick answers
Gel nails at home FAQ
Simple answers for readers learning at-home gel polish, builder gel, curing, UV/LED lamps, and safe removal.
Can beginners do gel nails at home?
Yes. Beginners can start with a simple one-color manicure using compatible products and a suitable lamp. Keep uncured gel off the skin and follow the manufacturer’s application, curing, and removal instructions.
Do you need a UV or LED lamp for gel nails?
Most gel polish and builder gel products require a compatible UV or LED lamp. Check the instructions for the exact gel system before use.
What is the easiest gel nail look to do at home?
A sheer nude, soft pink, milky white, or single-color short gel manicure is usually easiest for beginners.
Can you do builder gel nails at home?
Yes, but builder gel requires more product control than basic gel polish. Learn gentle preparation, skin-safe application, compatible curing, and removal before attempting structured overlays.
How do you remove gel nails safely at home?
Do not peel gel off. Follow the removal method provided for the product, work gently, and stop if you feel pain or notice damage.